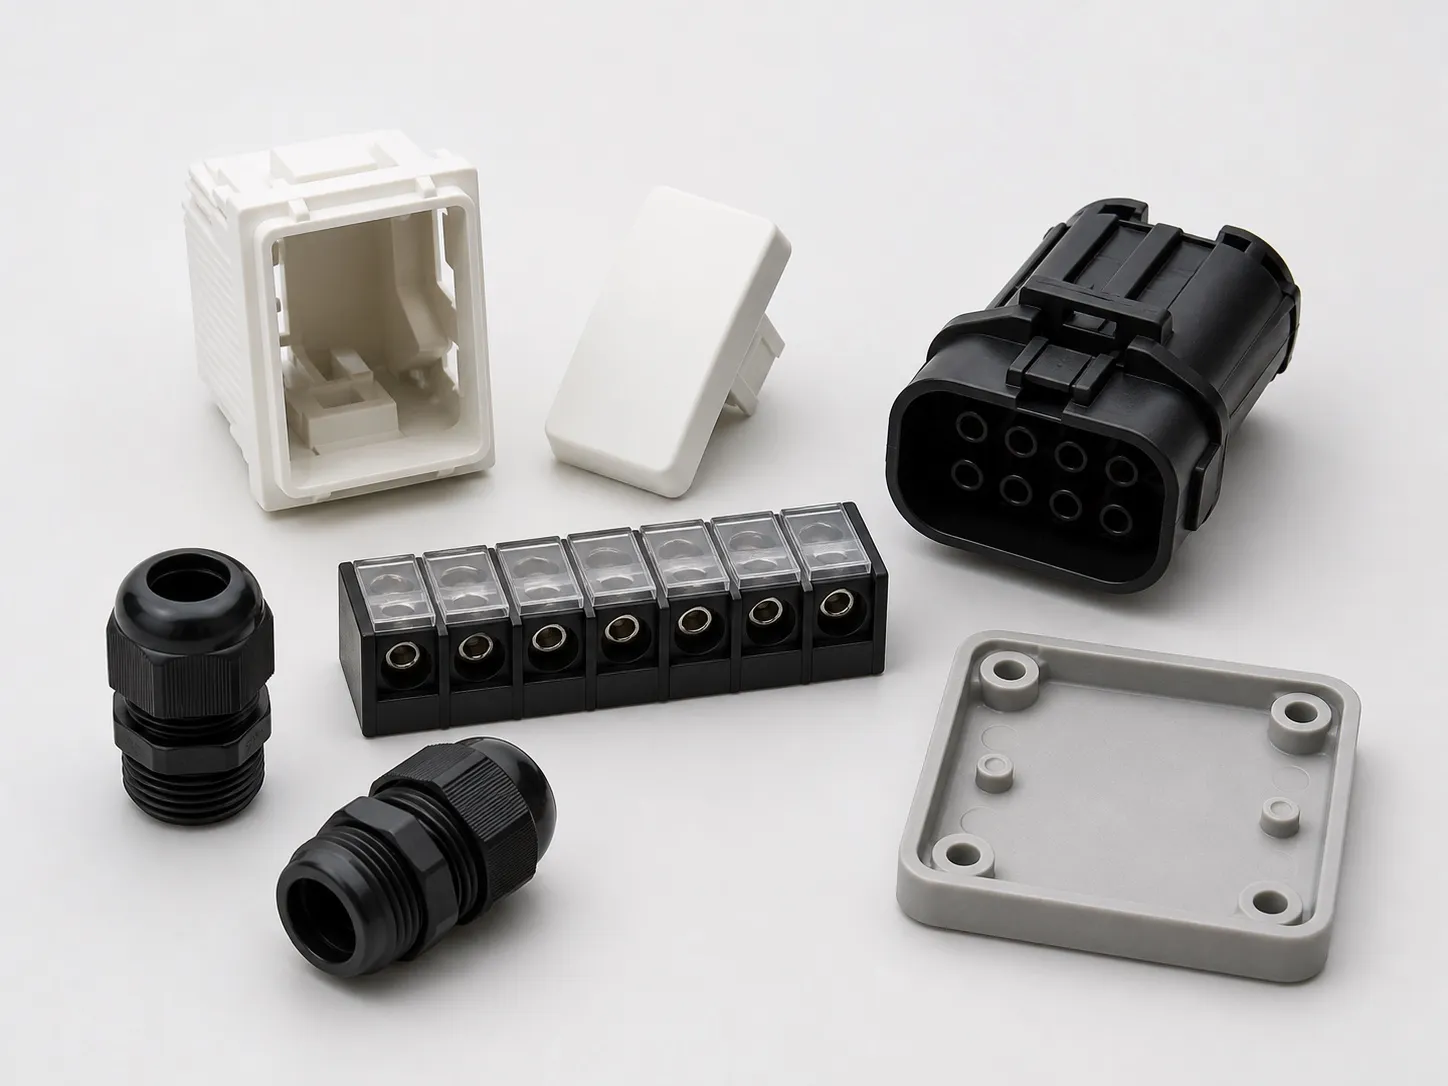
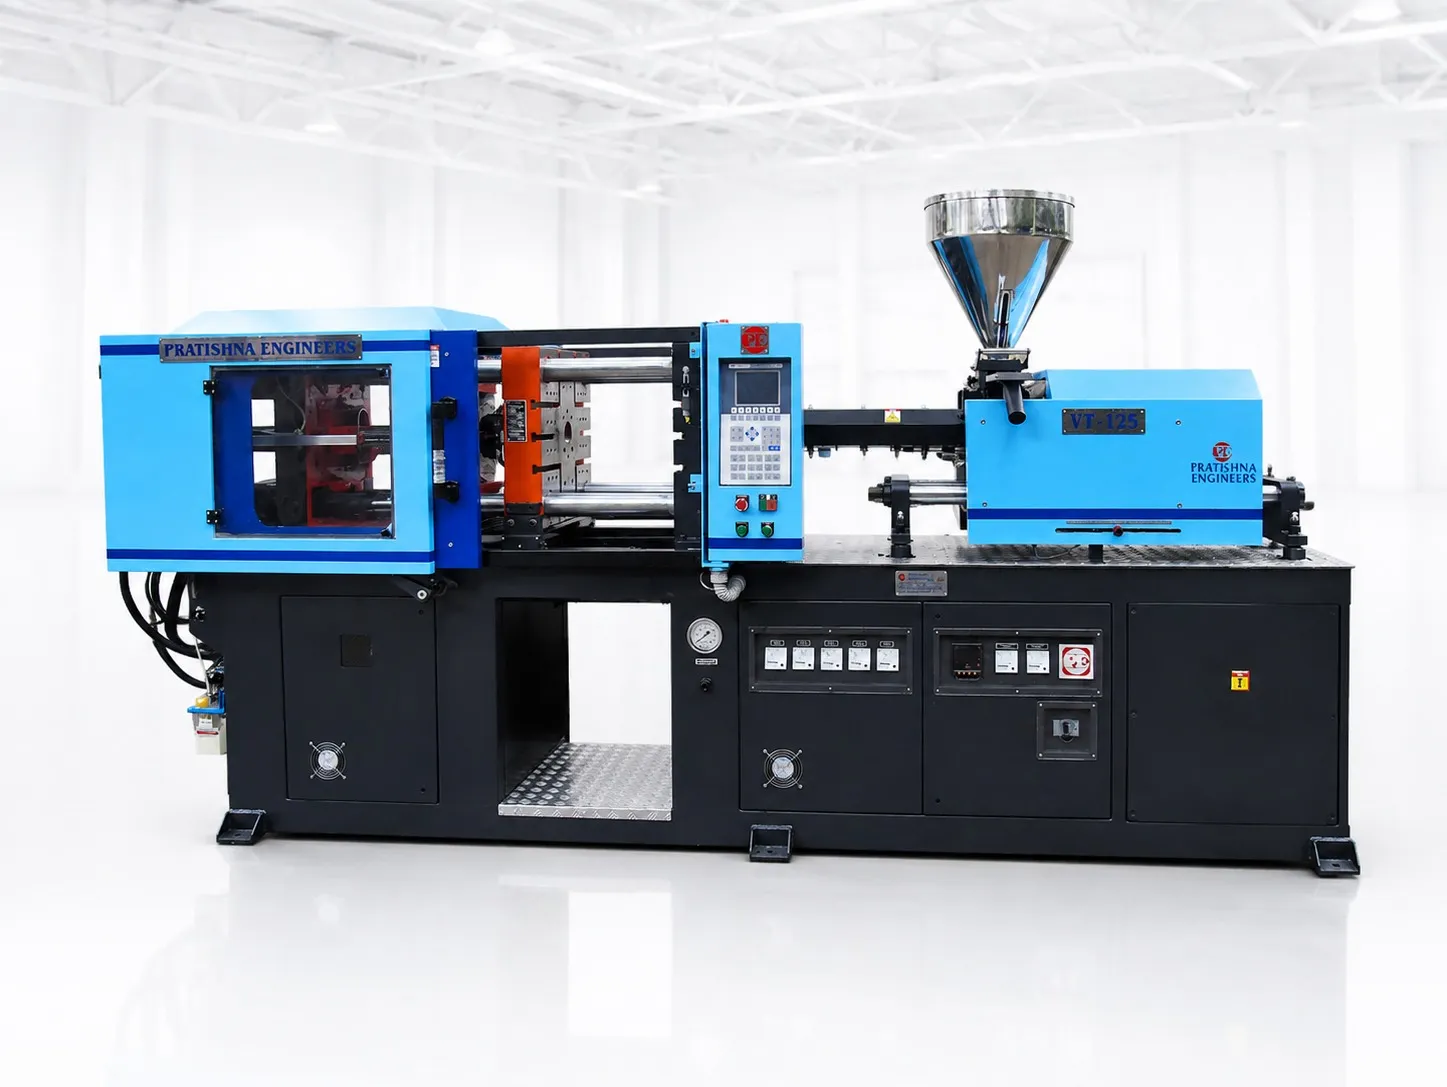
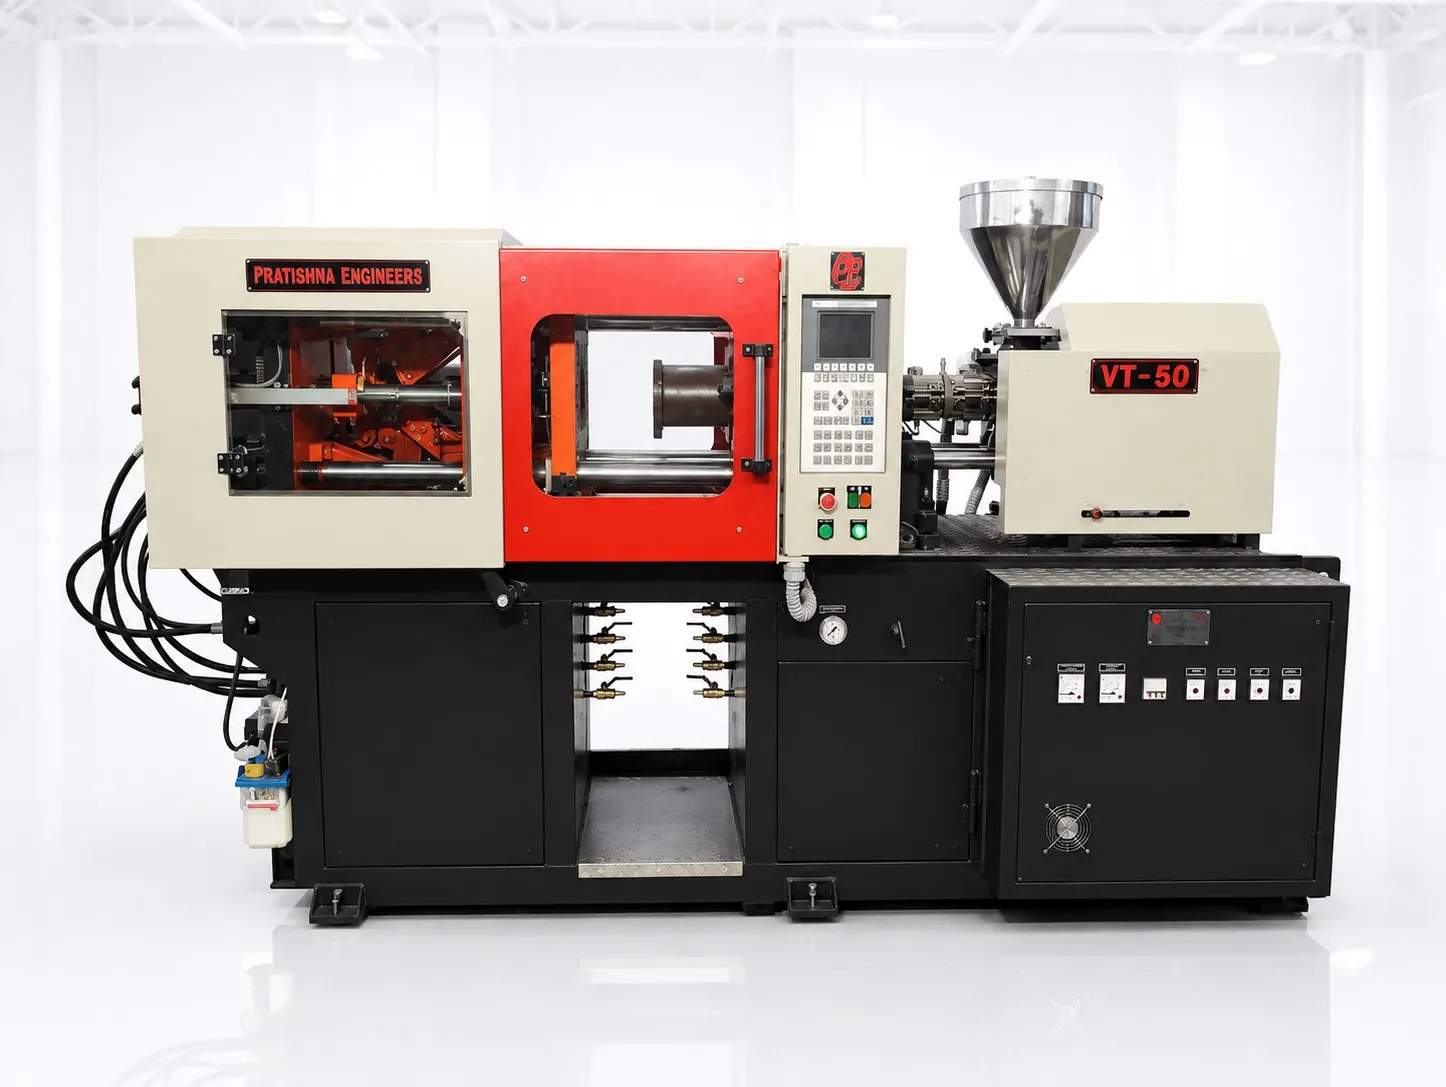
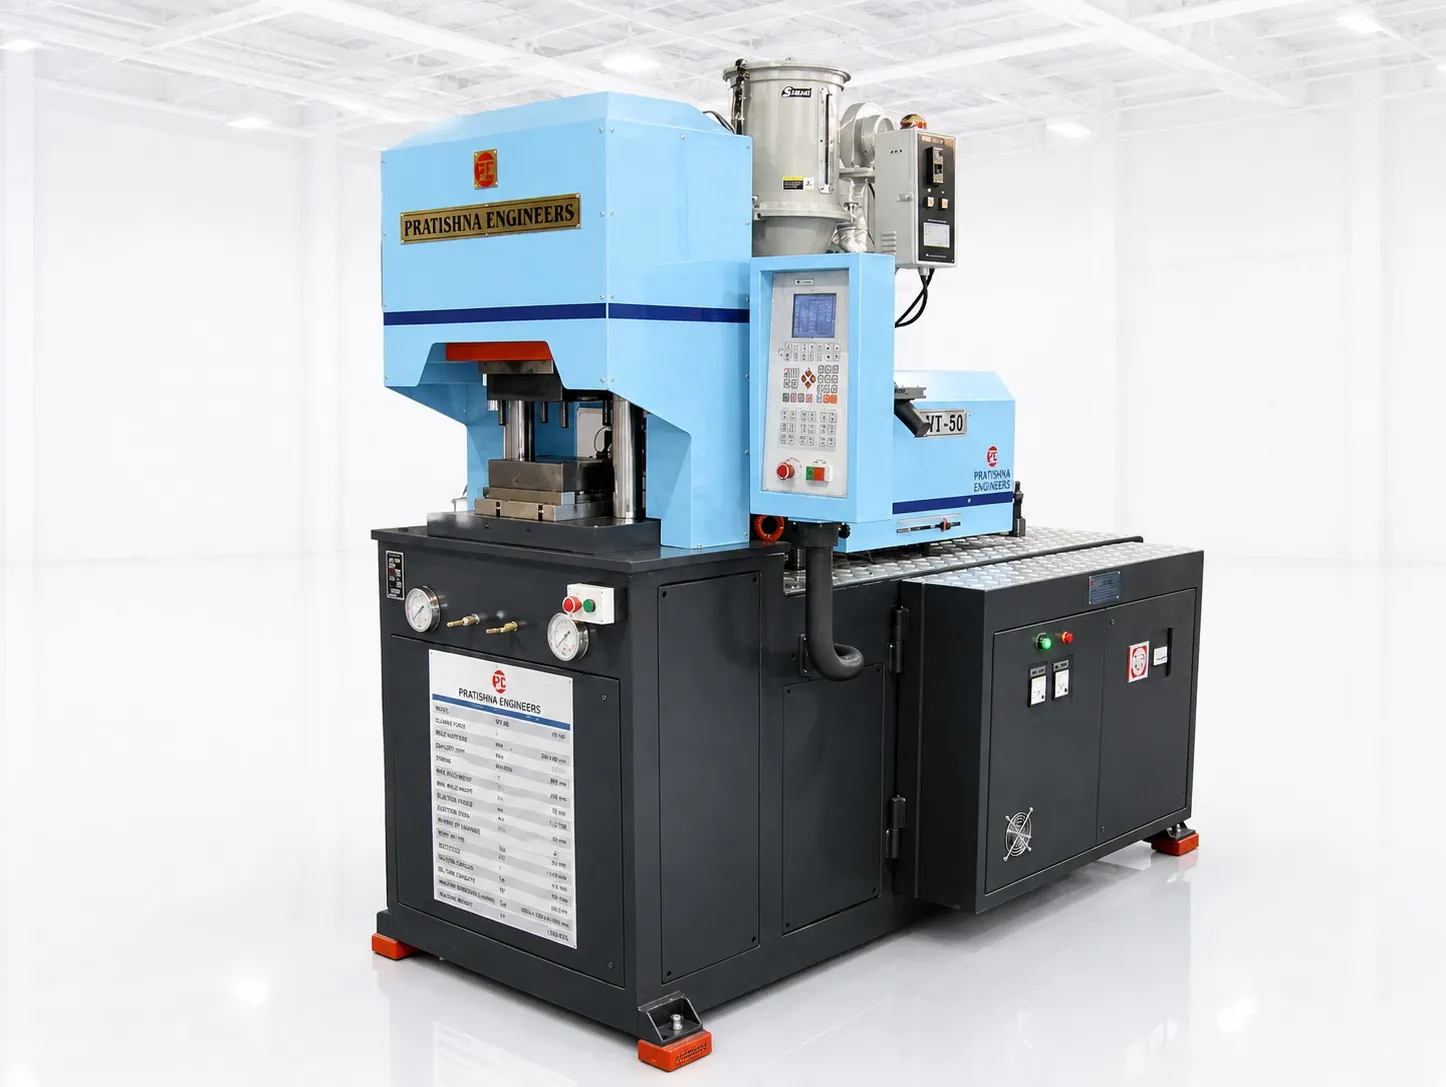
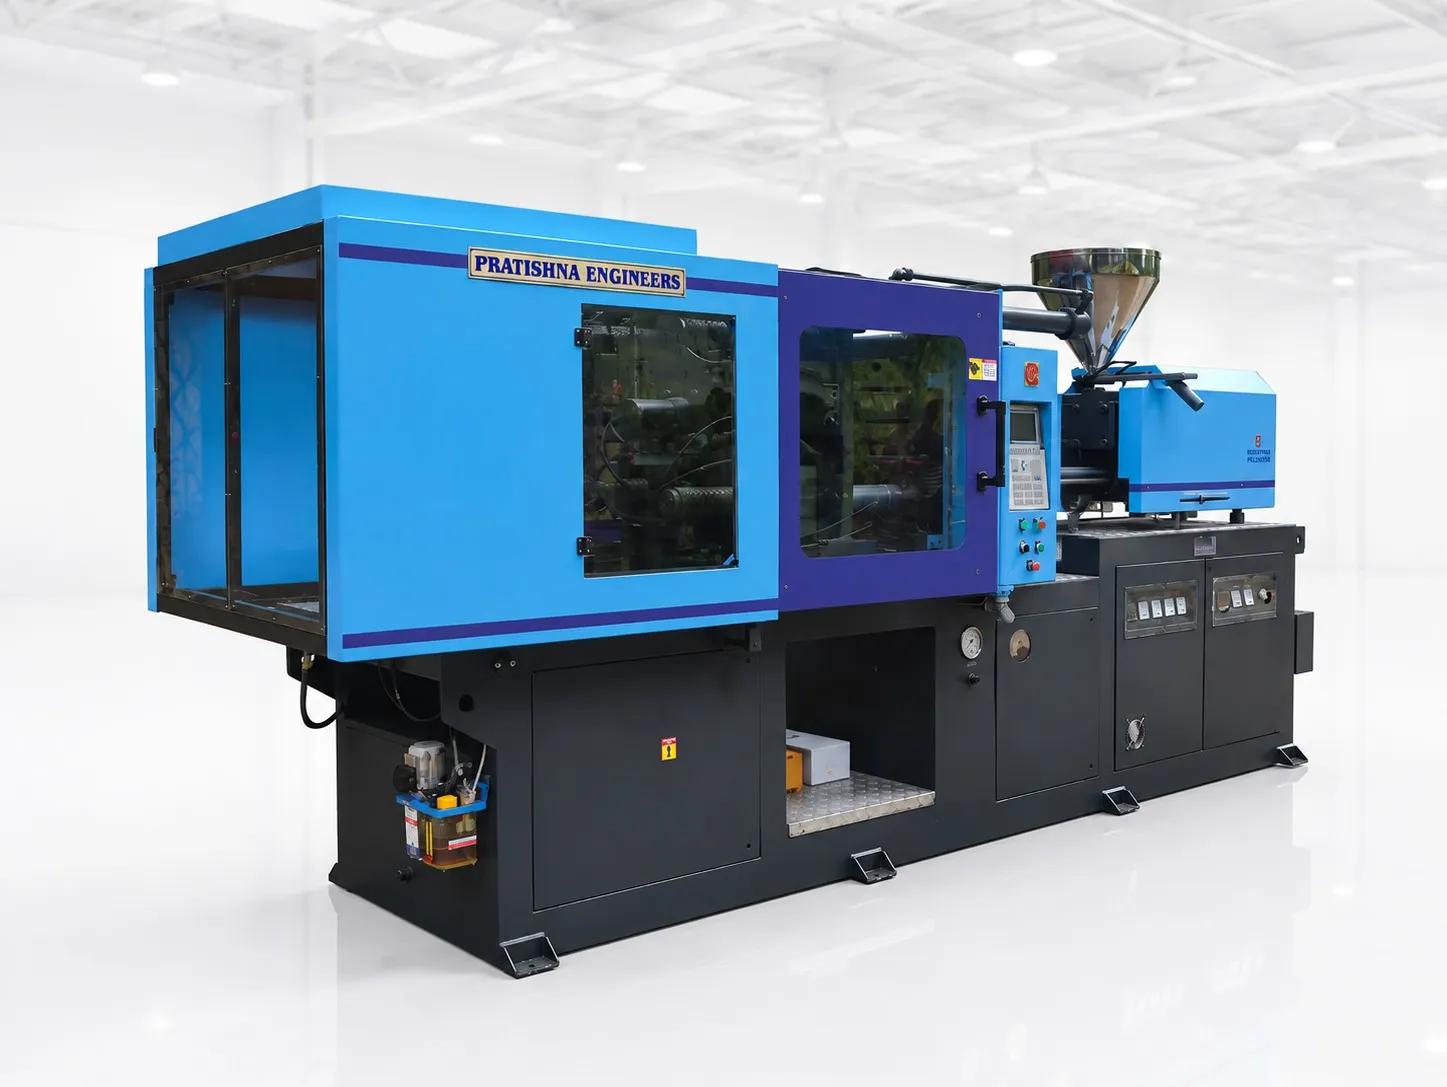
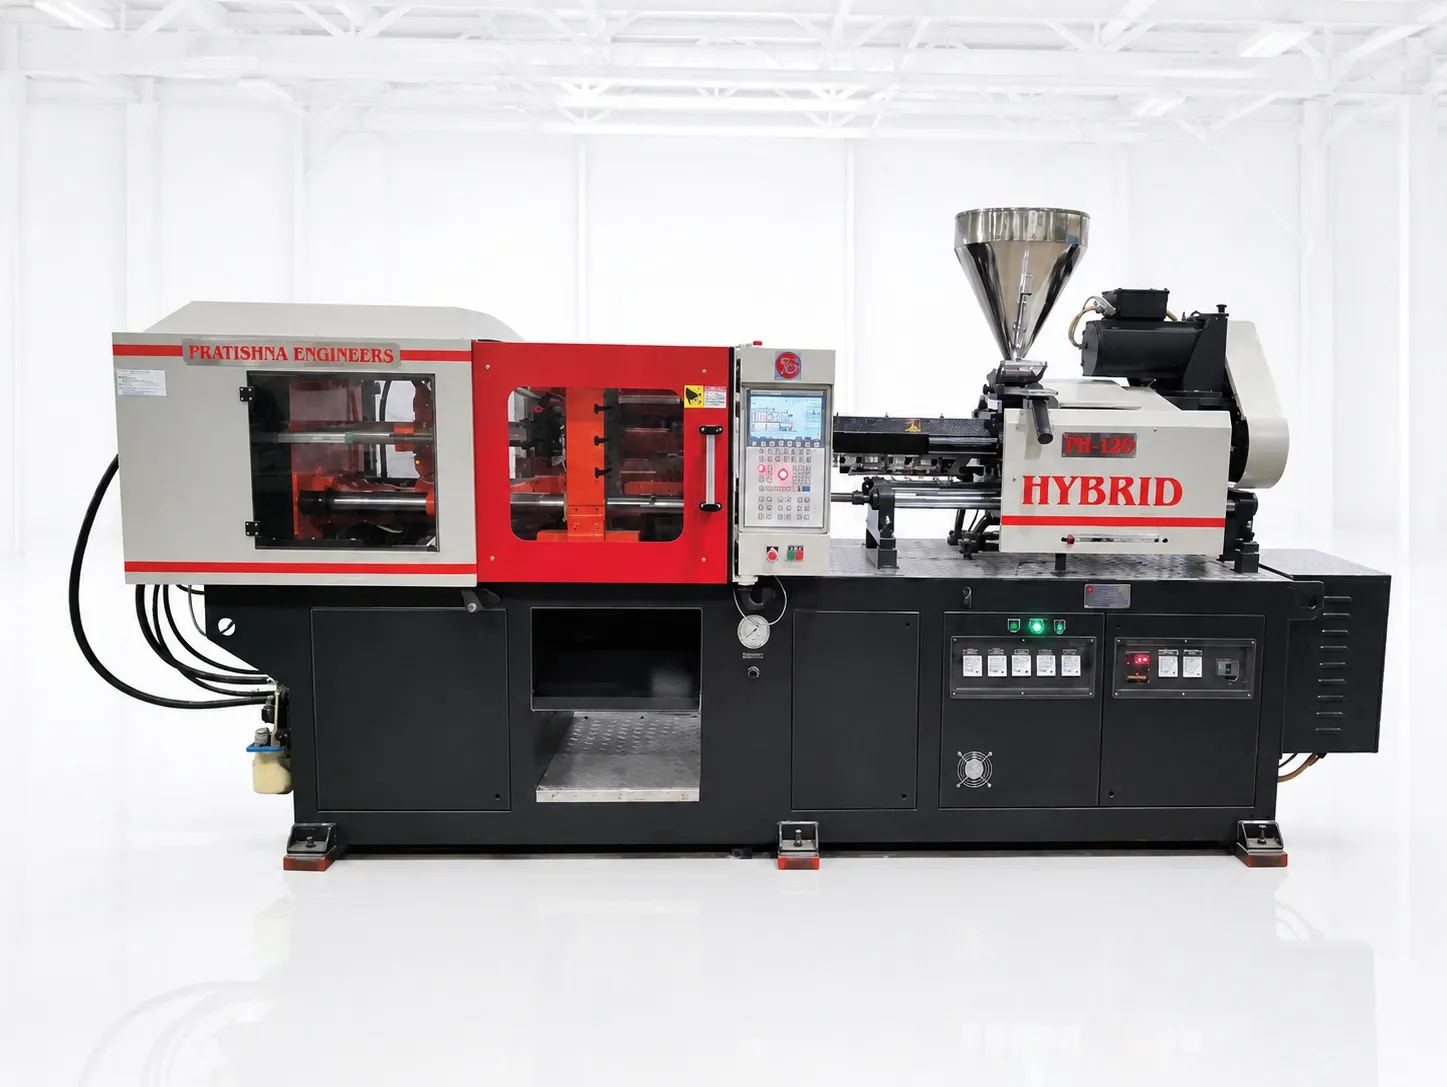
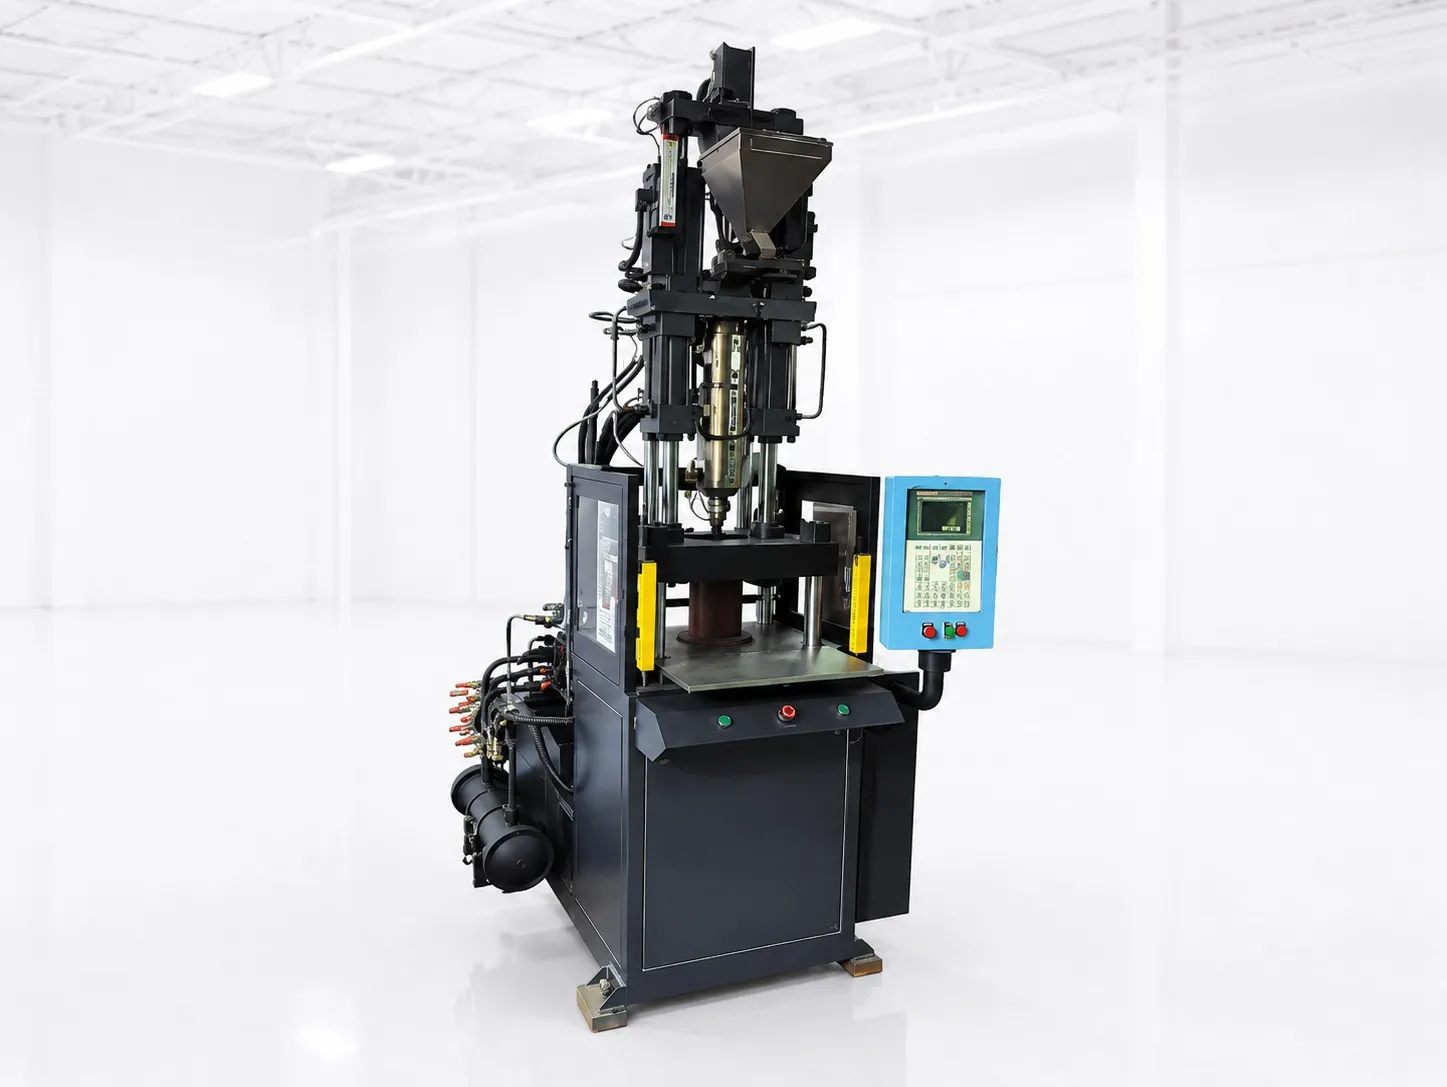
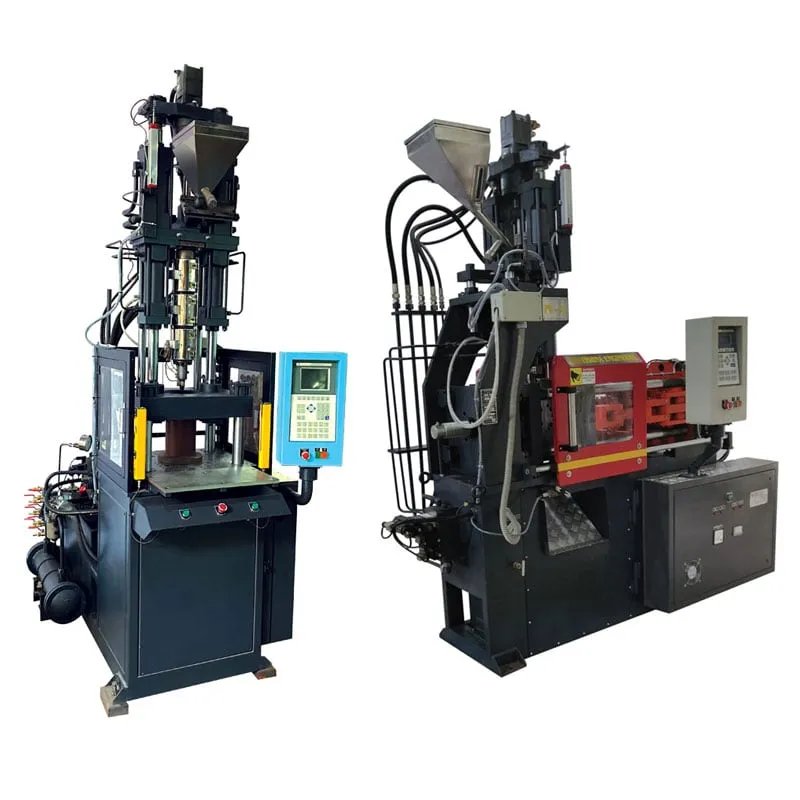

Vertical injection moulding machine selection comes down to four answers: which clamp and injection layout suits your part, which table suits your loading time, how much clamp and shot the mould needs, and how much daylight you need to load inserts safely. Get the layout and table right first, because they fix your cycle and labour per part. Tonnage and shot then follow from the part. A vertical machine earns its floor space when parts carry metal inserts, pins or cables that must sit still in an open mould. For plain plastic parts with no inserts, a horizontal machine is usually the simpler buy.
Key Takeaways
- Choose the layout first: vertical clamp with vertical injection for most insert work, vertical clamp with horizontal injection when the gate must sit on the parting line.
- Pick the table from the clock: if loading inserts takes about as long as moulding, a shuttle or rotary table can recover most of that time.
- Size clamp from the projected area of all cavities plus runner, then add a reserve; on small insert parts, the barrel size is the more common mistake.
- Check daylight, table height and operator reach at the trial; a vertical machine that is awkward to load will lose its cycle advantage every shift.
Which layout comes first in vertical injection moulding machine selection?
Most insert and overmoulding jobs suit a vertical clamp with vertical injection, because the gate can sit on top of the part and the inserts rest by gravity. Choose a vertical clamp with horizontal injection when the part needs a side or parting-line gate, such as a cable overmould.
The vertical-vertical layout feeds the melt down through the top half into the cavity. That suits round parts gated at the centre, terminals with pins standing upright, and stacked inserts. It also keeps the injection unit out of the operator's way at the front of the table.
The vertical-horizontal layout injects at the parting line from the side. Cable and wire overmoulds use it because the cable lies flat across the parting line and leaves the mould sideways. The trade-off is a wider machine footprint, since the barrel sticks out to one side. Check where the cable exits and how the operator lays it in before the clamp closes.
Before you choose, ask one question: does the insert sit better standing up or lying down? Moulded-in inserts are often treated as a last resort in part design, because they add loading time, preheating and cracking risk. If your designer can press or heat-stake the insert later, compare that route first.
Vertical machine layouts and tables, and where each fits
| Layout or table | Gate position | Typical parts | Watch for |
|---|---|---|---|
| Vertical clamp, vertical injection | Top of the part, through the upper half | Terminals, bushes, round inserted parts | Overhead height and access to the nozzle |
| Vertical clamp, horizontal injection | Parting line, from the side | Cable and wire overmoulds, plug tops | Wider footprint, cable routing |
| Fixed table | Either layout | Short runs, inserts that load quickly | Machine waits while you load |
| Shuttle or rotary table | Either layout | Long loading time, steady volumes | Extra lower mould halves, table move time |
Fixed, shuttle or rotary table: which one pays back?
A fixed table suits jobs where loading inserts is quick compared with moulding time. When loading takes nearly as long as the mould is closed, a shuttle or rotary table lets the operator load one lower half while the other is moulding, which can cut cycle and labour time.
On a fixed table, the cycle is moulding time plus loading time, because the mould stays open while the operator places each insert and removes the last shot. On a two-station table, the cycle becomes the longer of the two times plus the table move.
One catch shows up on the floor. With a single-slide table, the table travels out for loading and back for moulding in every cycle, so you pay two moves, not one. On some jobs that layout runs slower than a fixed table. Ask which slide arrangement you are buying.
Rotary tables carry two or more lower halves and turn rather than slide, which suits robot loading at a fixed station. Each extra lower half is another mould to build and maintain, so the table choice also decides your tooling spend. If loading takes more than half the mould-closed time, a fixed table is the wrong buy.
How much clamp, shot and daylight does an insert job need?
Clamp comes from the projected area of all cavities plus runner, times a tonnage factor for the resin, plus a reserve. Shot should fall within roughly 20% to 65% of barrel capacity. Daylight must leave room to place inserts by hand or robot without reaching into a tight gap.
Clamp is rarely where a vertical job goes wrong. A two-cavity connector body of 80 by 50 mm with a 6 cm² runner needs roughly 27 to 40 t at tonnage factors of 2 to 3 US tons per square inch, with a 10% reserve. That 10% is a starting margin, not a rule.
Shot is where small insert jobs go wrong. A big barrel on a tiny shot means long residence time, and heat-sensitive resins such as rigid PVC degrade when a small shot sits in the barrel through a long cycle. Ask for the smallest barrel that keeps your shot inside the window.
Then check the Indian rule your part answers to. Under the Electrical Accessories (Quality Control) Order, 2023, items such as bayonet lamp holders and switch-socket-outlets need the BIS Standard Mark. Insert position and wall over the metal must hold steady shot after shot, so plan in-mould insert checks from day one.
What should you send before choosing a vertical machine?
Send the part drawing, the insert type and count, the resin grade, your monthly volume and how you plan to load inserts, by hand or by robot. With those, a supplier can propose a layout, table and tonnage that you can test on your own mould at the trial. Bring sample inserts to the trial, not drawings alone. See the vertical injection moulding machine range.
Frequently Asked Questions About Choosing a Vertical Injection Moulding Machine
Is a vertical injection moulding machine only for insert moulding?
No. Inserts are the main reason to buy one, but vertical machines also mould small parts where gravity helps, such as overmoulded cables, stacked components and parts that must not shift when the mould closes. For plain plastic parts with no inserts, compare a horizontal machine first, since parts can drop out freely.
Can a robot load inserts on a vertical machine?
Yes. A robot or pick-and-place unit can load inserts and unload parts, usually at a fixed station beside a rotary or shuttle table. Vision checks can confirm each insert is seated and the cavity is free of debris before the mould closes, which keeps bad parts and mould damage out of the cell.
Should metal inserts be preheated before moulding?
Often, yes, especially in engineering resins. Preheating reduces shrink stress around the insert, pre-expands it and improves weld lines, which lowers the risk of delayed cracking. Your resin supplier and part designer should set the temperature; the machine only needs space and time in the cycle to load warm inserts safely.
How much daylight does a vertical machine need for insert work?
Enough opening to place inserts and remove parts without hands entering a tight gap. As a starting check, the opening stroke should be at least 2.5 times the part height, then add room for the loading tool or fingers. Test it at the trial with the real inserts and the real mould.
Can one vertical machine run several different insert parts?
Yes, if the clamp, shot, table and daylight cover them all, with separate lower mould halves for each job. Group the parts by tonnage and shot before buying, and size the barrel for the smallest regular shot so the resin does not sit too long between shots.
Related Articles
- Types of Injection Moulding Machines
- Vertical Injection Moulding Machines: Innovating Manufacturing
- Vertical Locking Vertical Injection Sliding Double Station Machines
- The Benefits of Vertical Injection Moulding Machines for Compact Spaces
Sources & References
- PlasticsToday (IMM), summarising A. Miller, DuPont: Design and material advice from the pros, Part 3: Insert molding essentials
- aPriori Cost Model Guide: Insert Injection Molding Options
- Gazette of India (DPIIT): Electrical Accessories (Quality Control) Order, 2023
- MoldMaking Technology, B. Catoen: Machine Sizing and Specification for Optimal Mold Performance, Part 1
Technical Disclaimer
Disclaimer: The information provided in this document is for general informational and educational purposes only. It is based on technical references and industry information available at the time of preparation and may be subject to change. It does not constitute engineering, technical, commercial or professional advice, nor does it constitute a quotation, specification, warranty or contractual commitment by Pratishna Engineers.
Actual injection moulding machine and process requirements vary according to the component design, material, mould, production volume, machine configuration and operating conditions. The information, examples, calculations and recommendations provided should be independently evaluated and verified for the specific application before making any equipment, process or production decision. Information obtained from third-party sources remains subject to the accuracy and limitations of those sources.
Limitation of Liability: Pratishna Engineers makes no representation or warranty, express or implied, regarding the completeness, accuracy or suitability of the information for any particular application. To the extent permitted by applicable law, Pratishna Engineers shall not be liable for any loss, damage, cost or consequence arising from reliance on or use of the information contained in this document. Final machine selection, configuration and application suitability should be confirmed with Pratishna Engineers based on complete and accurate project requirements.