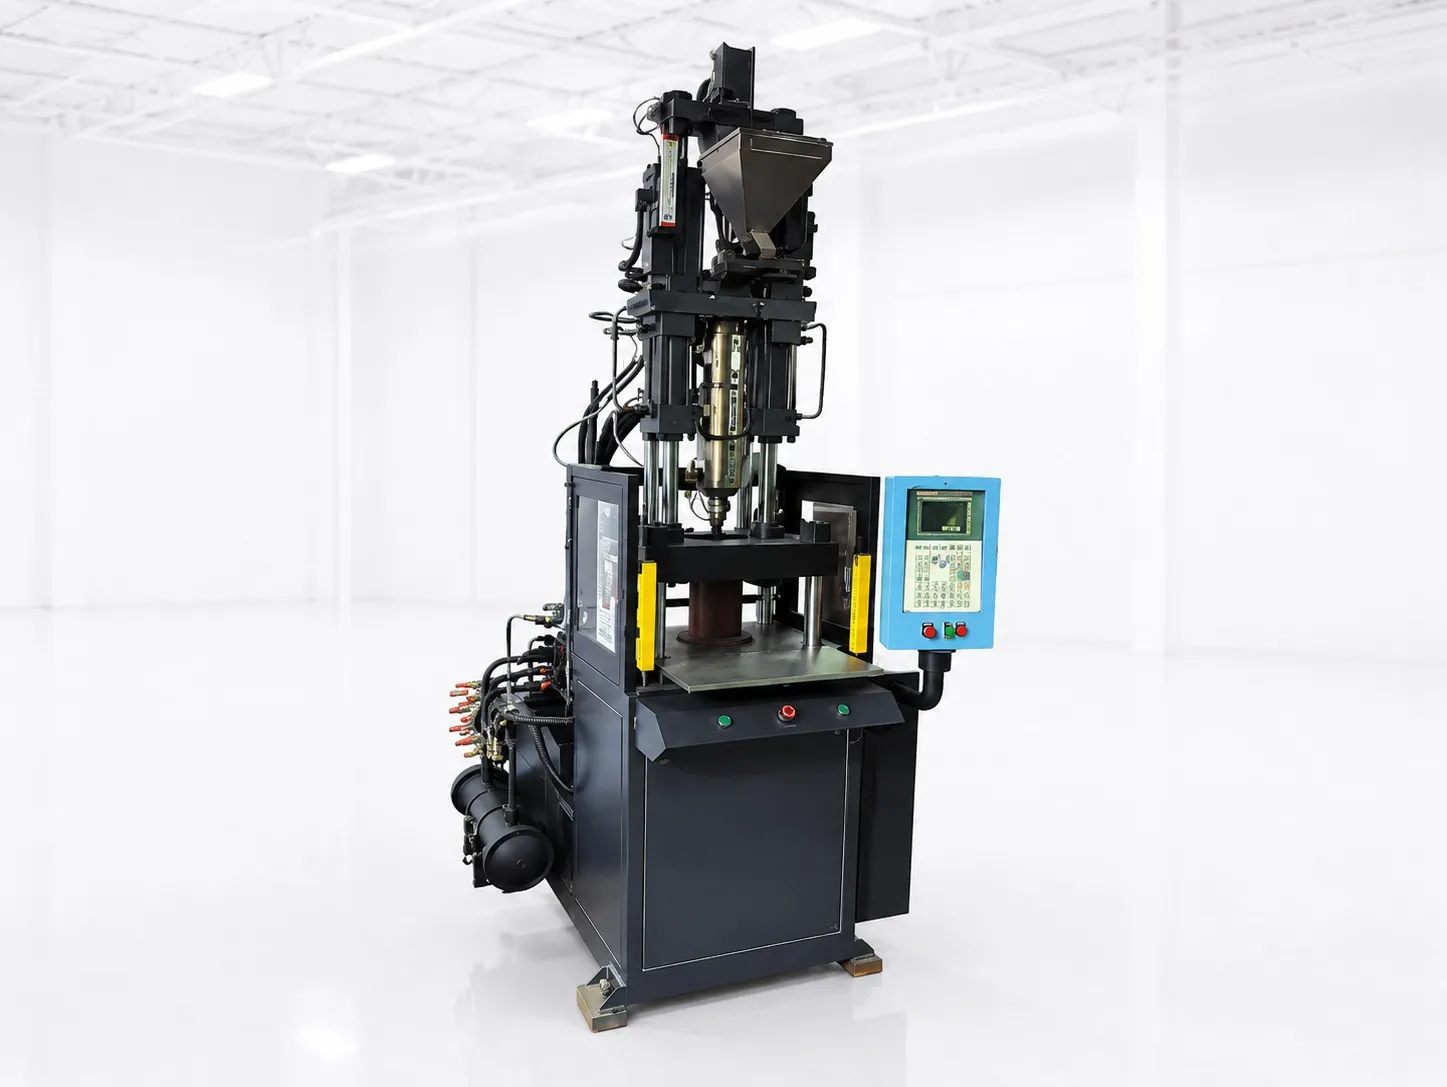
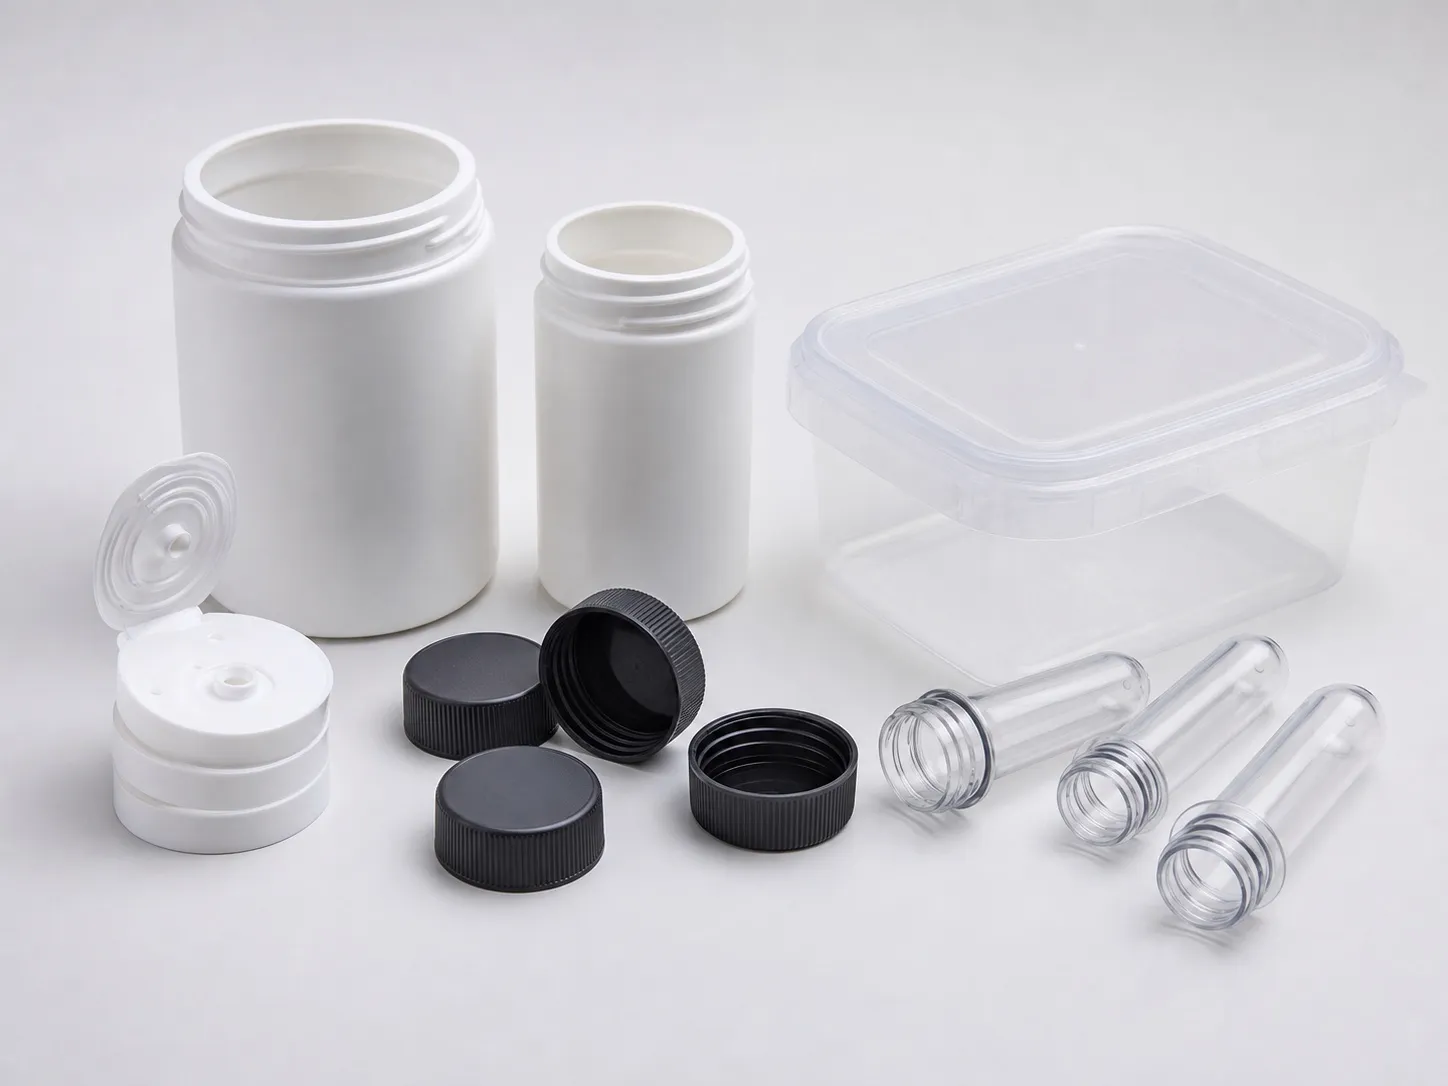

A ghee packer wants 8 litre square tubs with a label on all four sides, and the free press is a 320 t machine. Clamp is not the question, because one cavity needs well under 320 t. In IML container moulding at this size, the questions are whether the mould opens far enough for a side-entry robot and whether the ejector can free a tall tub from its core.
This article covers the daylight budget for an IML cell, ejector stroke for tall containers, mould fit on the platen, and what labelling adds to the cycle.
Key Takeaways
- On a toggle machine, maximum daylight equals maximum mould height plus stroke; check the mould against both.
- Opening for side-entry IML must clear the container, the core and the end-of-arm tool at once, which can exceed the 2.5 times height rule.
- Ejector stroke depends on the take-out method: a free drop needs about the full container depth, robot take-out with air can need less.
- A mould should cover at least about 70% of the tie-bar distance, or the platens can bow and flash the centre.
How Much Daylight Does IML Container Moulding Need?
Enough for the closed mould plus an opening that clears the core, the container and the robot's end-of-arm tool. On a toggle machine, maximum daylight equals maximum mould height plus stroke, so the test is whether the mould fits the height range and the stroke covers the opening.
Bruce Catoen's MoldMaking Technology guide to machine sizing sets out the checks. The mould must be thick enough for the machine's minimum mould height and thin enough for its maximum. Opening stroke should be at least 2.5 times the part height. For a direct hydraulic clamp, maximum daylight equals minimum mould height plus maximum stroke.
IML adds the end-of-arm tool. A side-entry robot can carry labels in and take containers out in the same move, so the opening must clear the container, the core and the tool thickness at the same time. On tall containers, that sum can exceed the 2.5 times rule.
Daylight budget for a side-entry IML cell on a toggle machine
| Item | What sets it | How to estimate |
|---|---|---|
| Closed mould thickness | Core and cavity length, plates, hot runner, any ejector box | From the mould design; it must sit between minimum and maximum mould height |
| Container clearing the core | Container height | About the container height |
| Core clearing the container | Core length | About the container depth |
| End-of-arm tool | Label carriers and container grippers | From the robot supplier |
| Working clearance | Robot entry tolerance | An allowance agreed with the robot supplier |
| Daylight needed | Mould thickness plus opening | Compare with maximum daylight on the data sheet |
How Far Must the Ejector Push a Tall Container?
Far enough to free the container from the core. For a free drop, that means about the full container depth. With a robot gripping the container and air blowing behind it, a shorter stroke that breaks it free can be enough. Choose the take-out method first, then check the stroke.
Tall, thin-walled containers grip the core as they shrink, and pushing on a few pins can dent them. Stripper rings that push on the rim, with air through the core top to break the vacuum, spread the load. Ejector force matters as much as stroke on large containers, so ask for both.
Catoen's guide also says to check the mould's ejector pattern against the machine's, such as SPI or EUROMAP layouts. A mismatch can need an ejector box, which adds height to the mould and must be counted in the daylight budget.
Does the Mould Fit the Platen and Tie Bars?
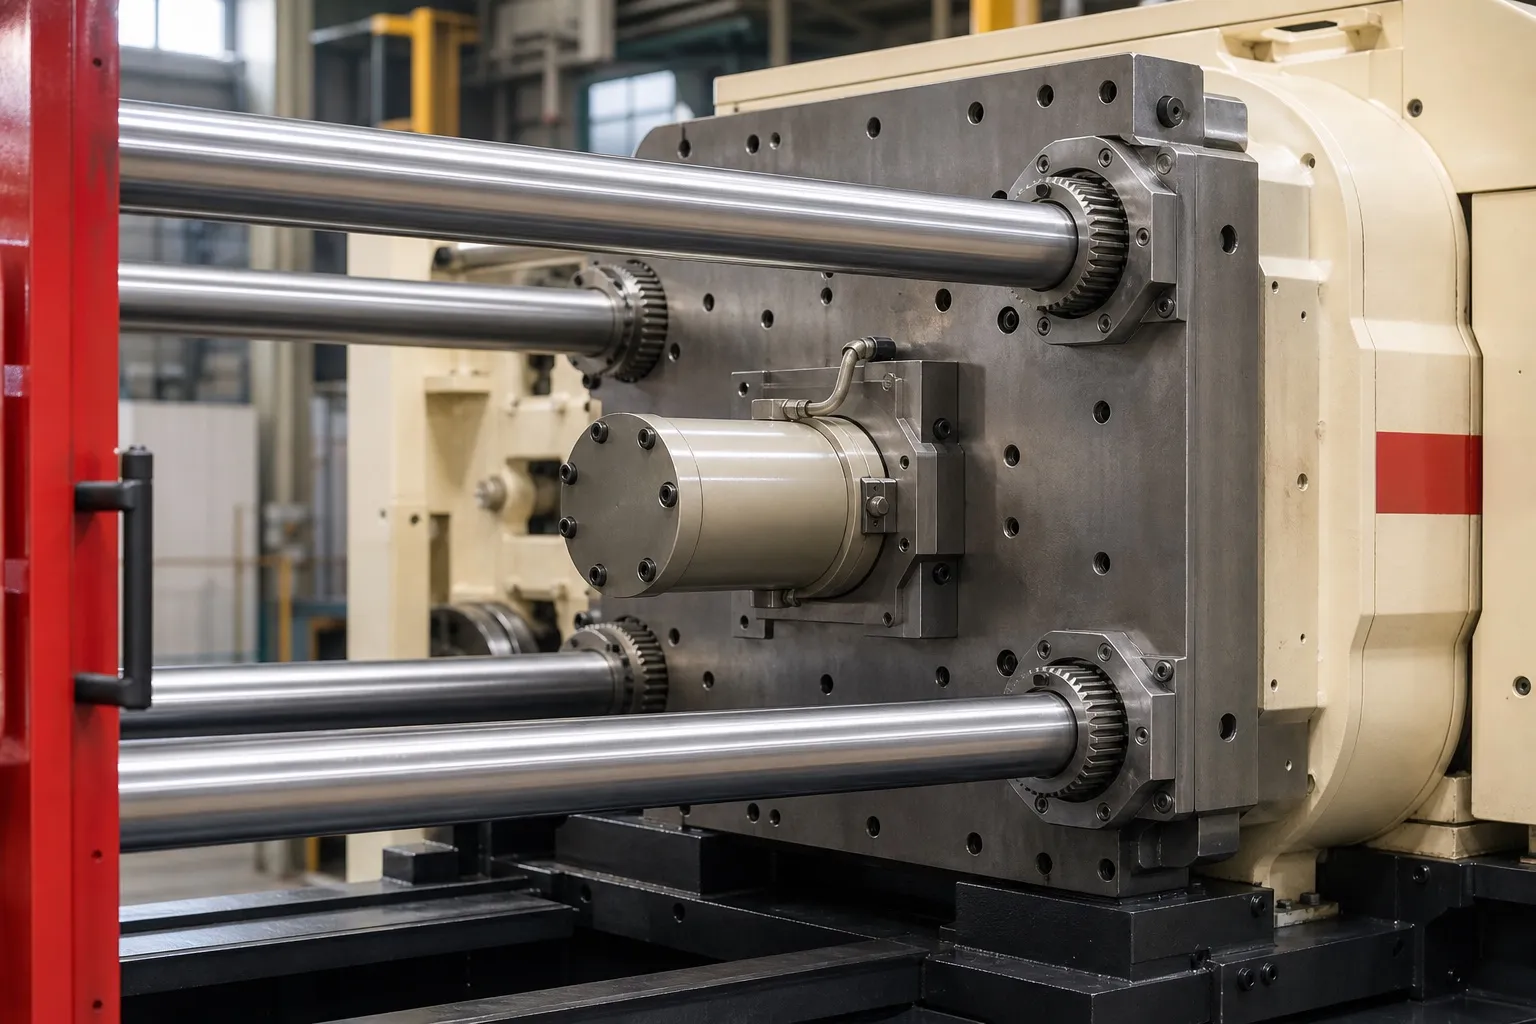
Check width, height and minimum mould size. The mould must pass between the tie bars, and a Plastics Technology rule of thumb says it should cover at least 70% of the tie-bar distance. A much smaller mould lets the platens bow and flash the centre.
That guidance comes from a Plastics Technology article on mounting moulds by Witaszek, Klees, Fattori, Di Siro and Bozzelli. It notes that most machine manuals give a minimum mould size, sometimes on a placard on the frame, and that very small moulds can cause catastrophic platen damage.
Large IML moulds are wide as well as thick, so check both the tie-bar gap and the mould-height range. Catoen's guide adds that most moulds use a 101.6 mm (4 in) or 120 mm locating ring, so confirm the ring size before the mould is built.
How Does IML Change a Large-Container Cycle?
It adds label placement to every opening and makes take-out part of the robot's move. For four-sided or wrap-around labels on tall containers, the tool must place several labels or one long one, which takes longer than a single lid label. Measure that time on a trial.
Labels are held by vacuum ports in the mould or by a static charge. Scott Shelton's Plastics Technology article notes that static holding needs no vacuum passages in the mould, that charging takes about 0.5 to 2 seconds, and that round containers with wrap-around labels need a rotating mandrel to charge the label fully.
For food containers, the FSSAI Packaging Regulations require printing inks to meet IS 15495 and pigments IS 9833, so confirm the label supplier's ink compliance before the trial.
Our view: specify the robot and the mould together, and choose a machine with daylight to spare. A cell that needs every millimetre of stroke will slow down the first time a gripper or a label size changes.
What Should You Check Before Ordering a Large IML Cell?
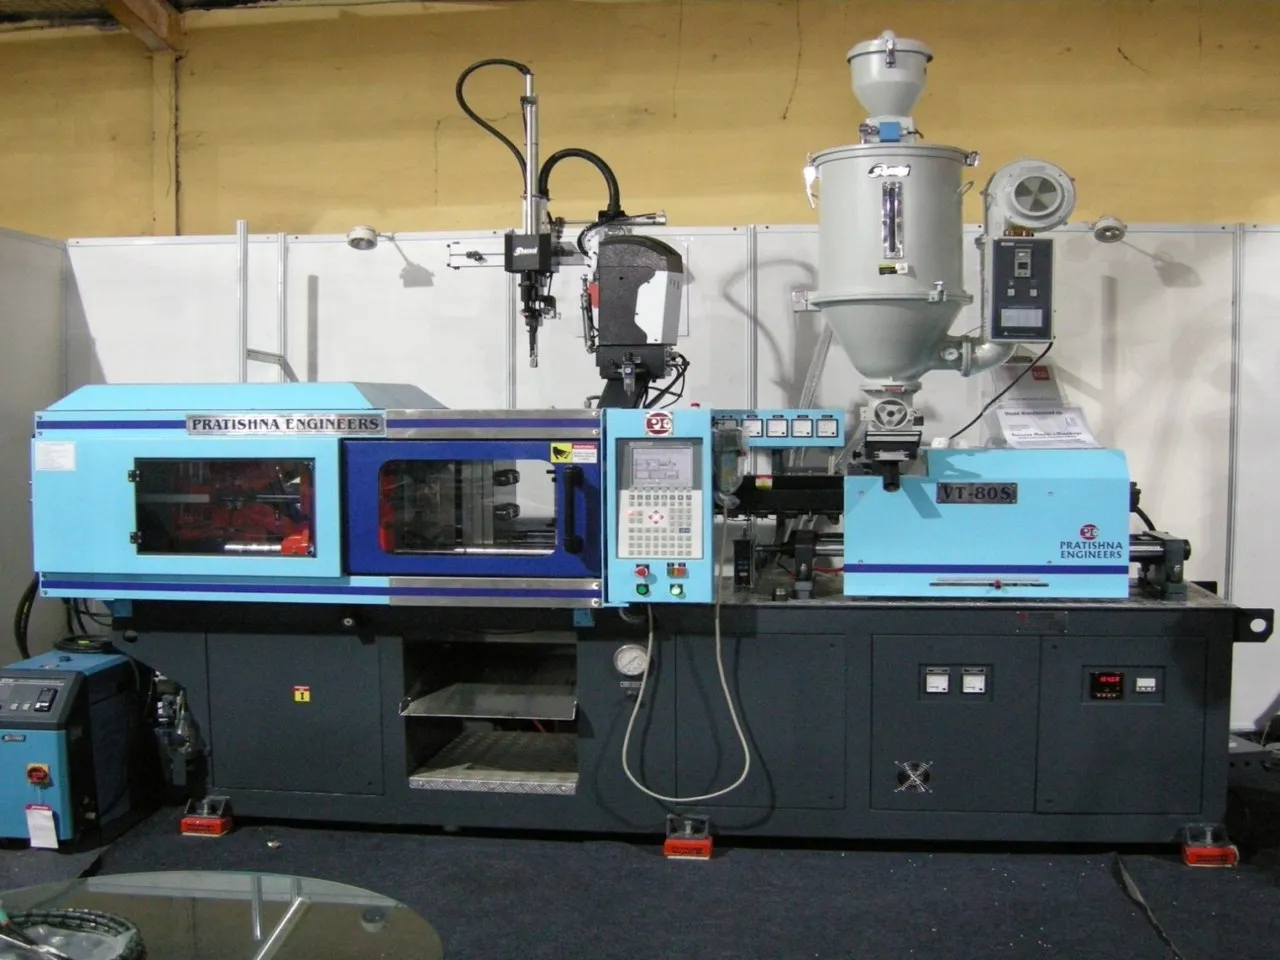
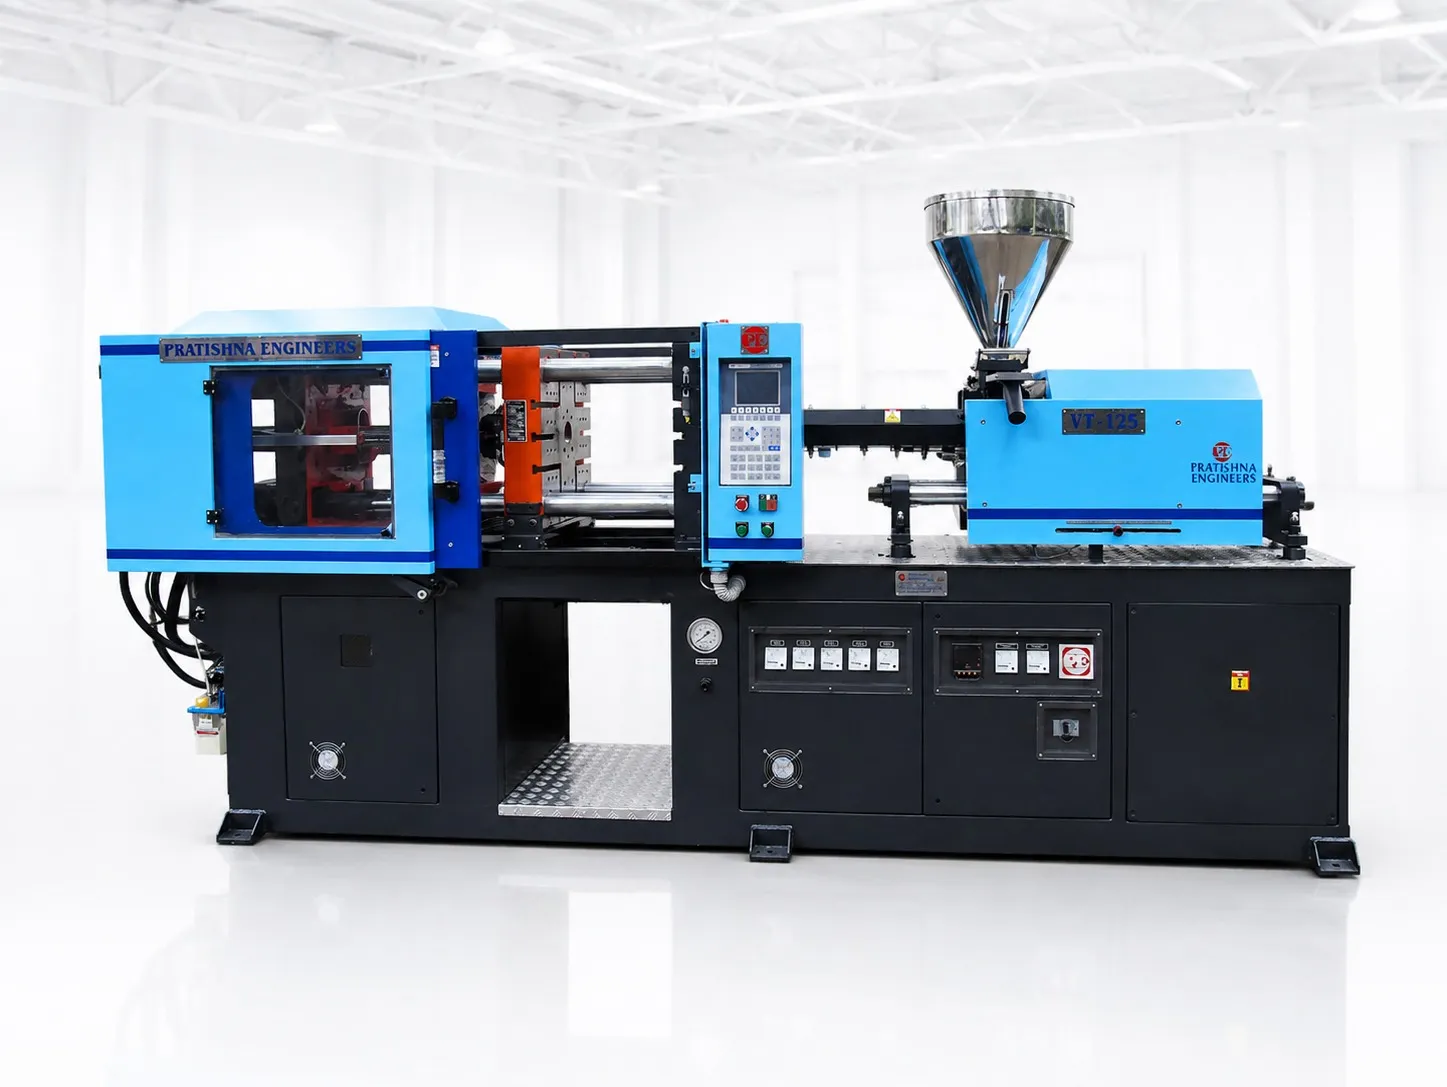
Collect the container drawing, the closed mould thickness, the end-of-arm tool size from the robot supplier, the take-out method and the label layout. Then check opening stroke, daylight, ejector stroke and tie-bar fit together. See the 320 ton horizontal injection moulding machine page.
Frequently Asked Questions About Large IML Containers
Can a top-entry robot reduce the daylight needed?
It can change it. A top-entry robot comes down between the platens, so the opening must still clear the container and core plus the tool, but a take-out-only tool can be thinner. A side-entry robot can place labels and remove parts in one move. Compare both layouts with your robot supplier.
Why do tall IML containers warp?
The label covers one face of the wall and slows heat removal there, so the two faces cool unevenly. Long flow paths, uneven walls and core cooling that lags the cavity side add to it. Balance cooling across core and cavity, keep the wall even and check label thickness with the supplier.
How do I stop labels creasing on four-sided containers?
Creases can come from labels too stiff or curled for the corner radius, poor alignment at placement, or melt from a badly placed gate pushing the label. Ask the label supplier for material suited to the corner radius, store labels flat, and confirm the gate position on a trial insert.
What is an ejector box and when is it needed?
It is an assembly that adapts a mould's ejector system to the machine's ejector pattern when the two do not match, such as SPI and EUROMAP layouts. It adds height to the mould, so include it in the closed thickness when you check mould height and daylight.
How much spare daylight should an IML cell have?
There is no fixed figure. As a starting margin, not a rule, keep around 50 to 100 mm in hand on both opening stroke and daylight, so a change of gripper, label or container height does not stop the cell. Recheck the budget whenever the container design changes.
Related Articles
- What Can You Make on a 320 Ton Container Moulding Machine?
- Paint Pail Moulding on a 320 Ton Machine
- When to Move From a 320 Ton Toggle Machine to a Two Platen Machine
Sources & References
- MoldMaking Technology, B. Catoen: Machine Sizing and Specification for Optimal Mold Performance, Part 1
- Plastics Technology, P. Witaszek, J. Klees, J. Fattori, E. Di Siro, J. Bozzelli: How to Mount an Injection Mold
- Plastics Technology, S. E. Shelton (Simco Industrial Static Control): In-Mold Labeling: Electrostatics Are the Way to Go
- Food Safety and Standards Authority of India (FSSAI): Food Safety and Standards (Packaging) Regulations, 2018, compendium
Technical Disclaimer
Disclaimer: The information provided in this document is for general informational and educational purposes only. It is based on technical references and industry information available at the time of preparation and may be subject to change. It does not constitute engineering, technical, commercial or professional advice, nor does it constitute a quotation, specification, warranty or contractual commitment by Pratishna Engineers.
Actual injection moulding machine and process requirements vary according to the component design, material, mould, production volume, machine configuration and operating conditions. The information, examples, calculations and recommendations provided should be independently evaluated and verified for the specific application before making any equipment, process or production decision. Information obtained from third-party sources remains subject to the accuracy and limitations of those sources.
Limitation of Liability: Pratishna Engineers makes no representation or warranty, express or implied, regarding the completeness, accuracy or suitability of the information for any particular application. To the extent permitted by applicable law, Pratishna Engineers shall not be liable for any loss, damage, cost or consequence arising from reliance on or use of the information contained in this document. Final machine selection, configuration and application suitability should be confirmed with Pratishna Engineers based on complete and accurate project requirements.