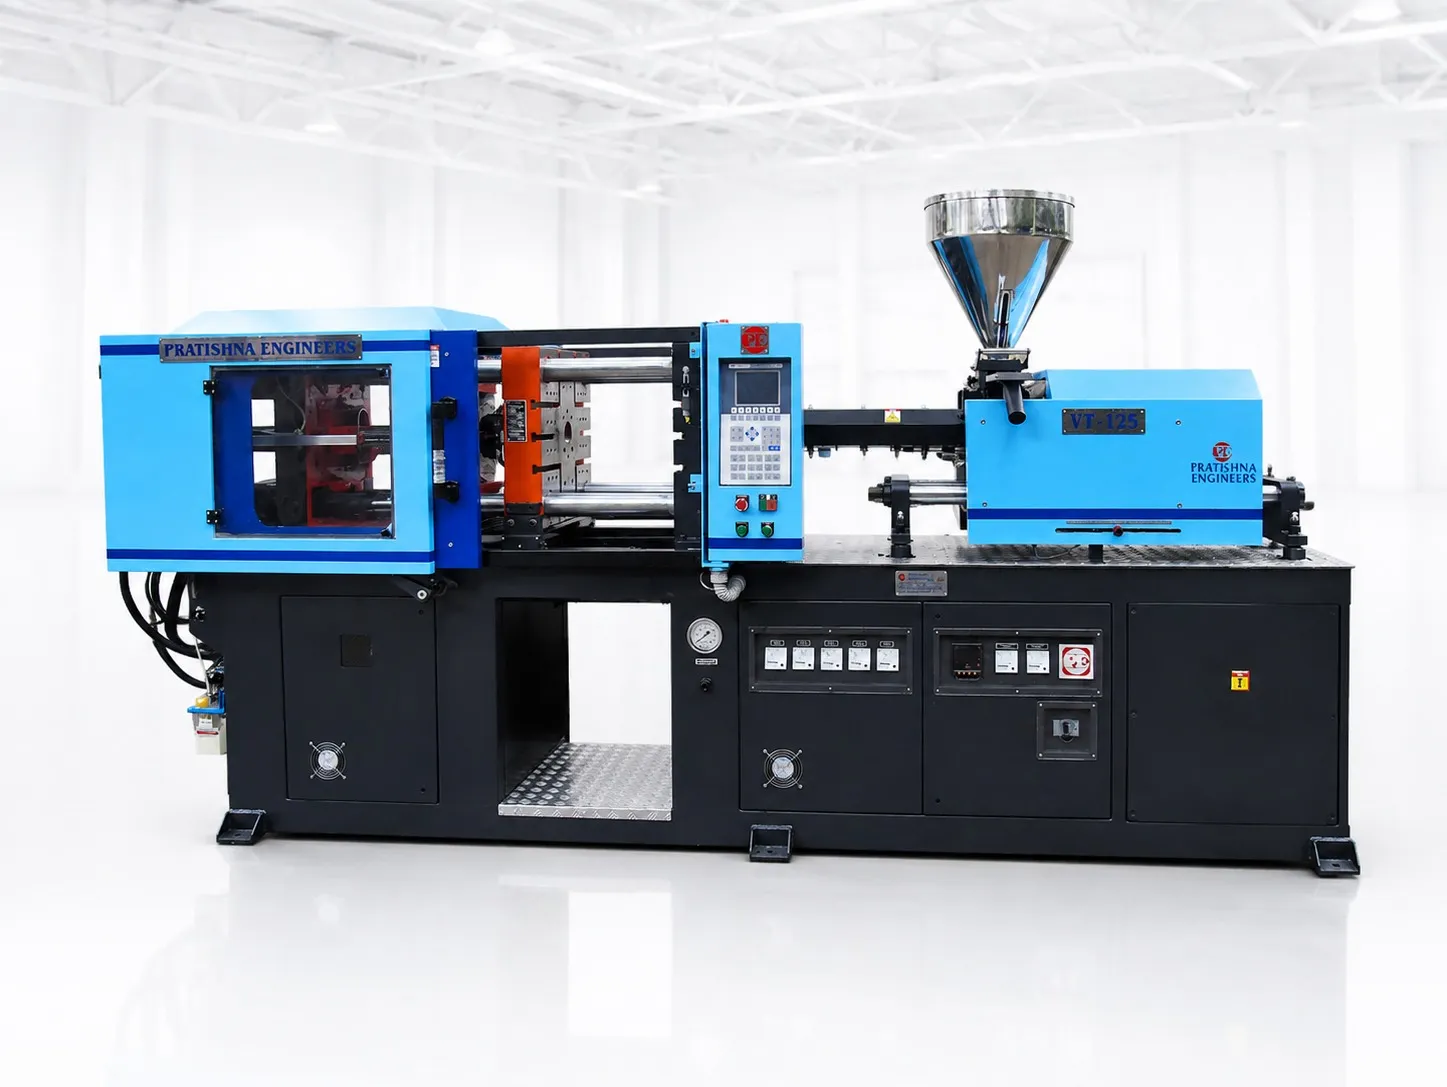
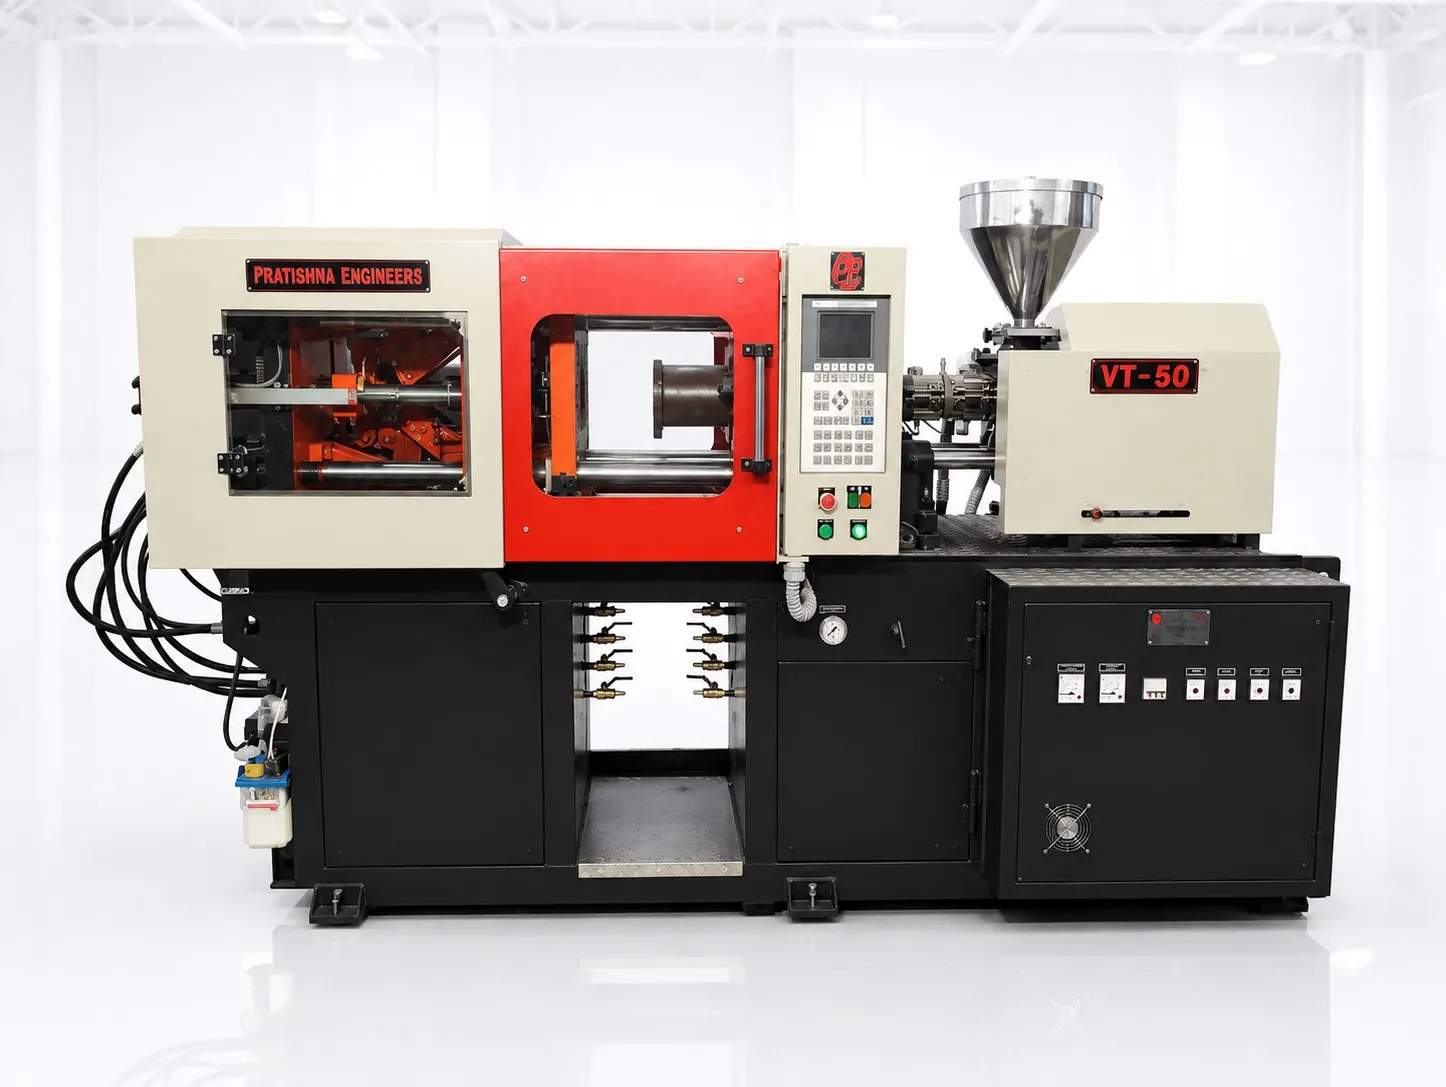
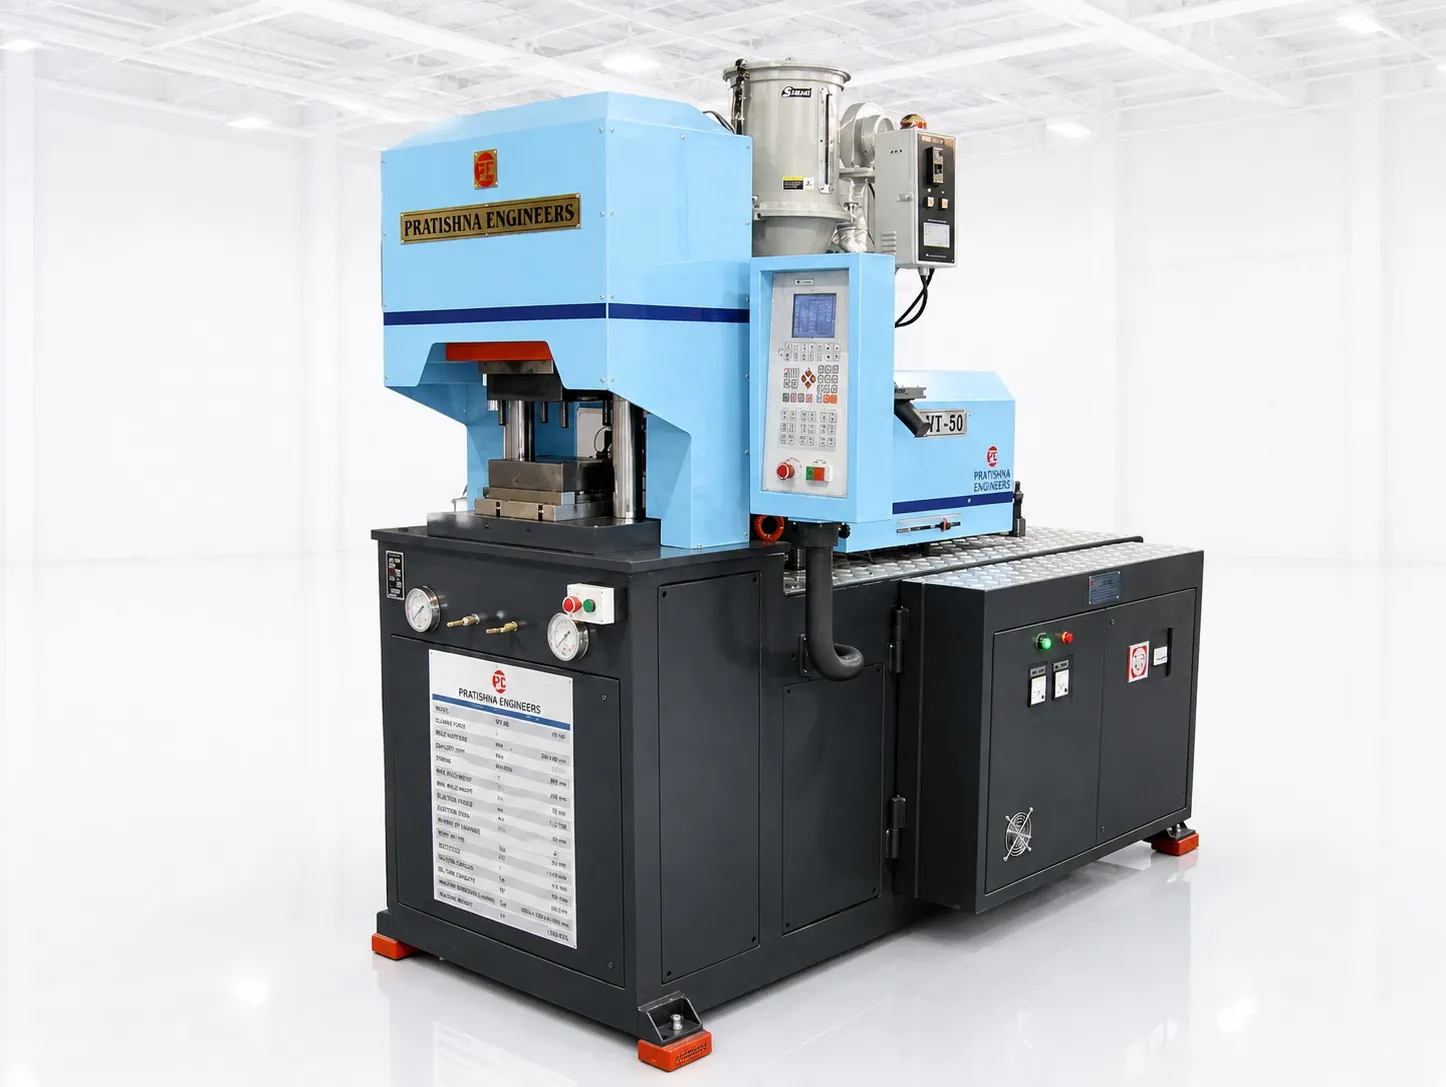
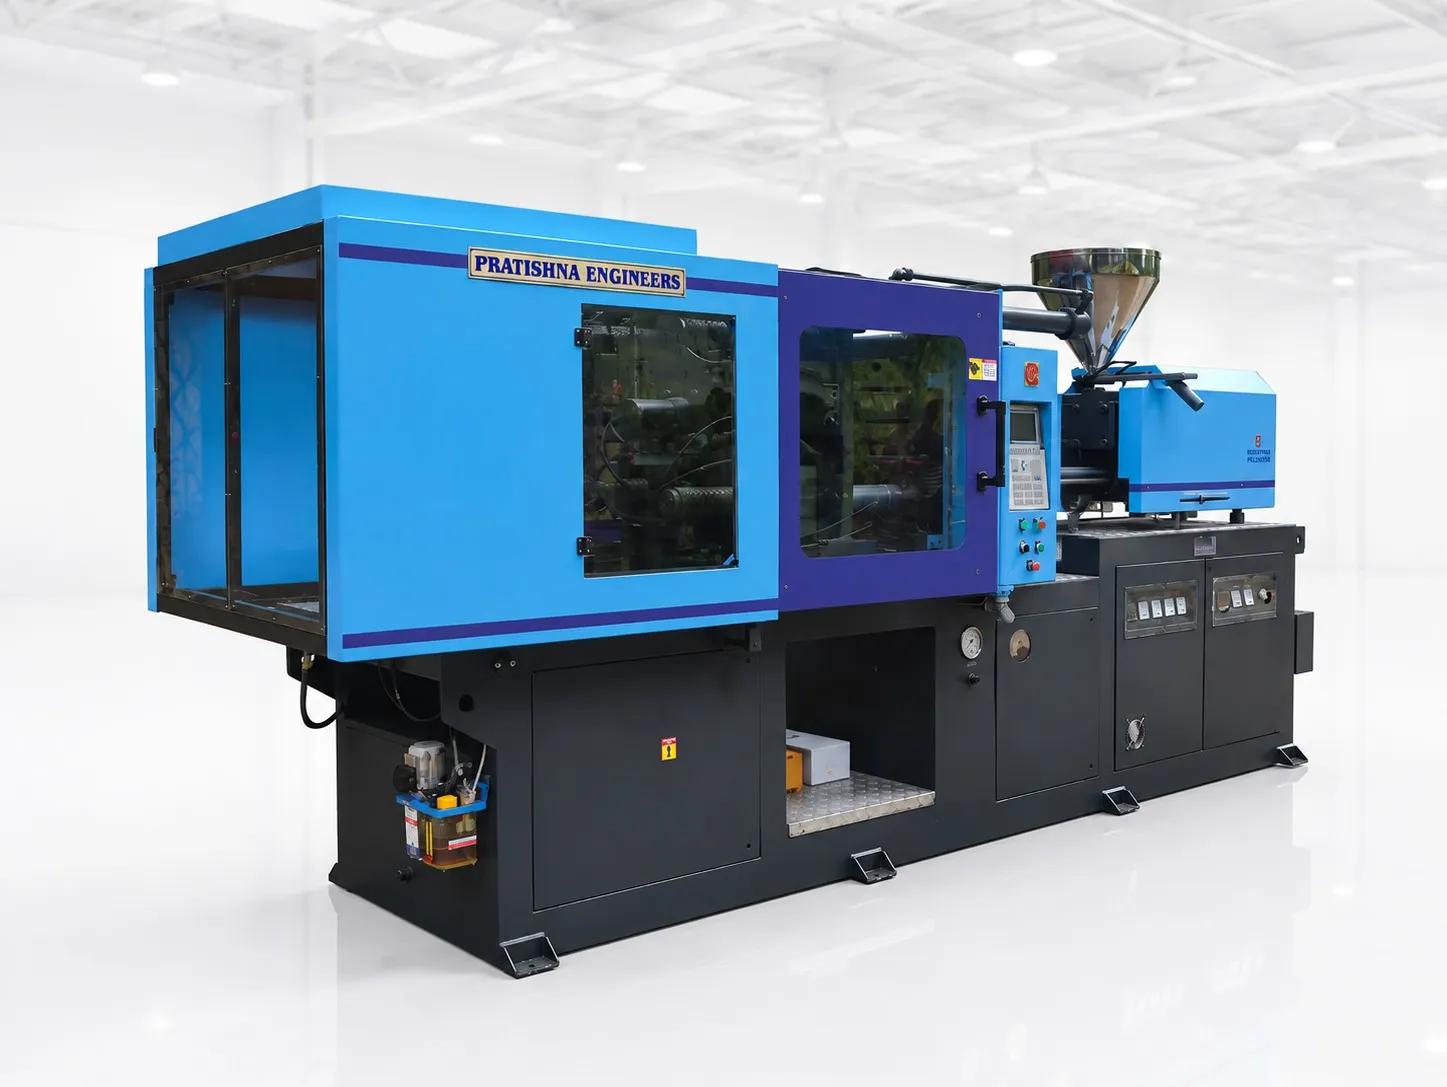
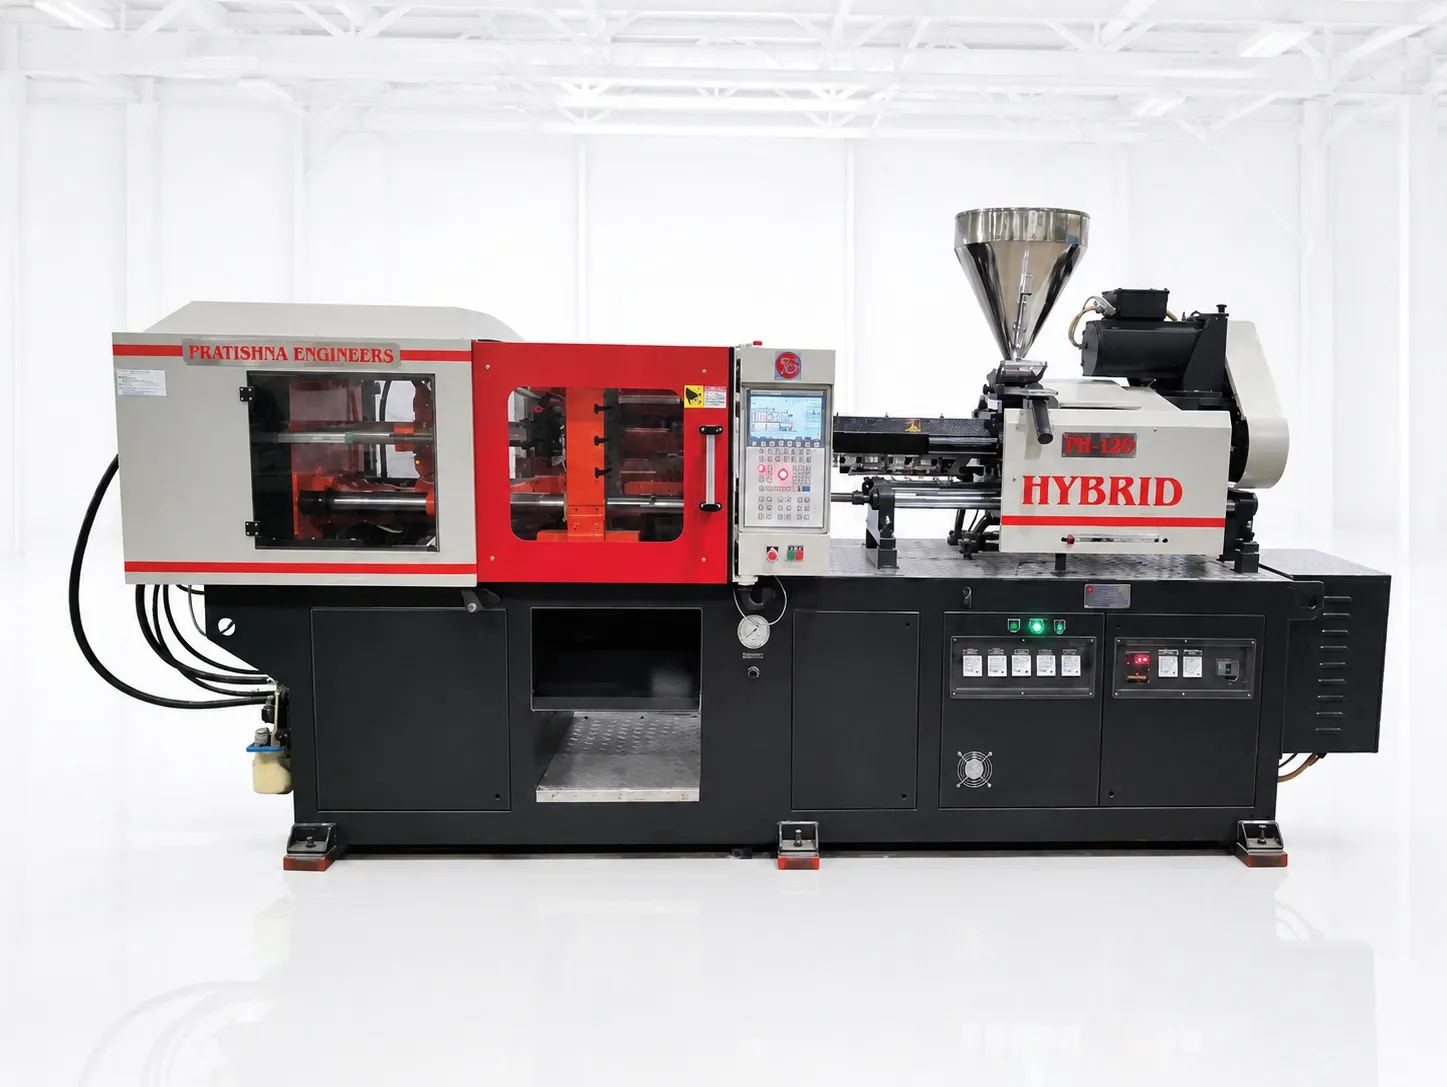
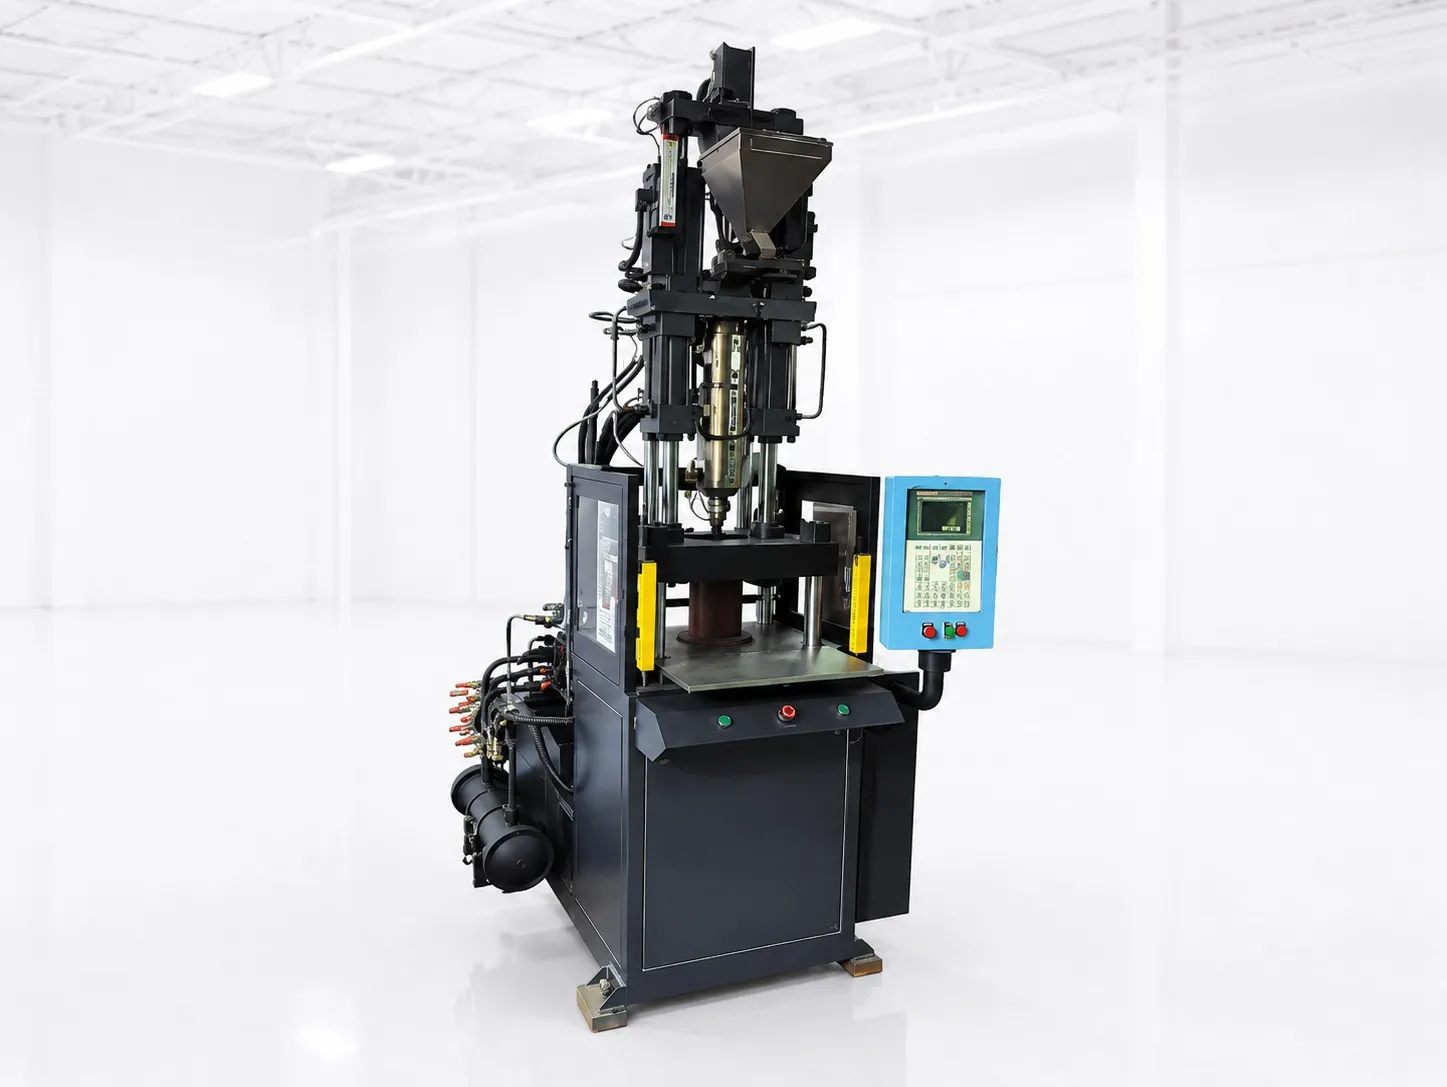

Take a PP storage tub mould: 420 mm wide, 400 mm thick, one cavity, a 150 mm deep part and a 380 g shot. Injection moulding machine sizing from that mould gives three numbers before clamp force is even discussed. You need a tie-bar gap above 420 mm but no wider than about 600 mm, an opening stroke of at least 375 mm with at least 775 mm of daylight on a toggle machine, and a barrel rated about 820 to 2,670 g of PS. The sections below show where each number comes from and what else to check.
Key Takeaways
- The mould should fit between the tie bars and cover at least about 70% of the gap, or the platens can bow and flash.
- Opening stroke should be at least 2.5 times the part height; on a toggle, daylight is maximum shut height plus stroke.
- Work the shot in melt volume, add 10%, and keep it between about 20% and 65% of barrel capacity.
- Check mould weight, locating ring, mounting and ejector patterns and nozzle pressure before you sign off on a machine.
How do tie bars and platen size limit your mould?
The tie bars set the largest mould you can load. Ideally the whole mould fits inside them. At minimum, the projected area of the parts must sit inside the tie bars, because platens can pull in near the tie bars and wear the parting line over time.
The opposite mistake costs just as much. A rule of thumb is that the mould should cover at least 70% of the distance between the tie bars. Smaller moulds let the platens bow under clamp, which shows as flash in the middle of the mould, and very small moulds can damage the platens badly. Most machine manuals state a minimum mould size, and some machines carry it on a placard on the frame.
For the tub mould, 420 divided by 0.7 gives 600 mm. The useful tie-bar gap is therefore above 420 mm plus loading clearance, and no wider than about 600 mm. If your moulds span both limits, size for the ones you will run most and treat the rest as exceptions.
Mould-fit checks and where the numbers come from
| Check | Data you need | Rule used here |
|---|---|---|
| Tie-bar gap | Mould width and height | Mould inside the tie bars; mould covers at least 70% of the gap |
| Shut height | Mould thickness | Between machine minimum and maximum shut height |
| Opening stroke | Part height | At least 2.5 × part height |
| Daylight (toggle) | Mould thickness, stroke | Maximum shut height + stroke |
| Shot and barrel | Shot weight, resin melt density | Melt volume + 10%, within 20% to 65% of barrel |
| Mould weight | Mould mass, each half | Within the limit for both platens |
How much daylight and opening stroke does the mould need?
Enough to open the mould, eject the part and take it out. Opening stroke should be at least 2.5 times the part height. The mould must also sit between the machine's minimum and maximum shut height, and the maximum daylight must cover mould thickness plus that stroke.
Clamp type changes the arithmetic. On a toggle, maximum daylight equals maximum shut height plus stroke, and the full stroke is available at every shut height. On a piston clamp, maximum daylight equals minimum shut height plus maximum stroke, so a thicker mould leaves you less stroke. The toggle clamping article in this series explains why the linkage behaves this way.
For the 150 mm deep tub, 2.5 × 150 gives 375 mm of stroke. With a 400 mm thick mould, a toggle machine needs a maximum shut height of at least 400 mm and daylight of at least 775 mm. If parts come out by robot from above, add the space the gripper needs between the open halves.
How do you turn part weight into a shot size and barrel?
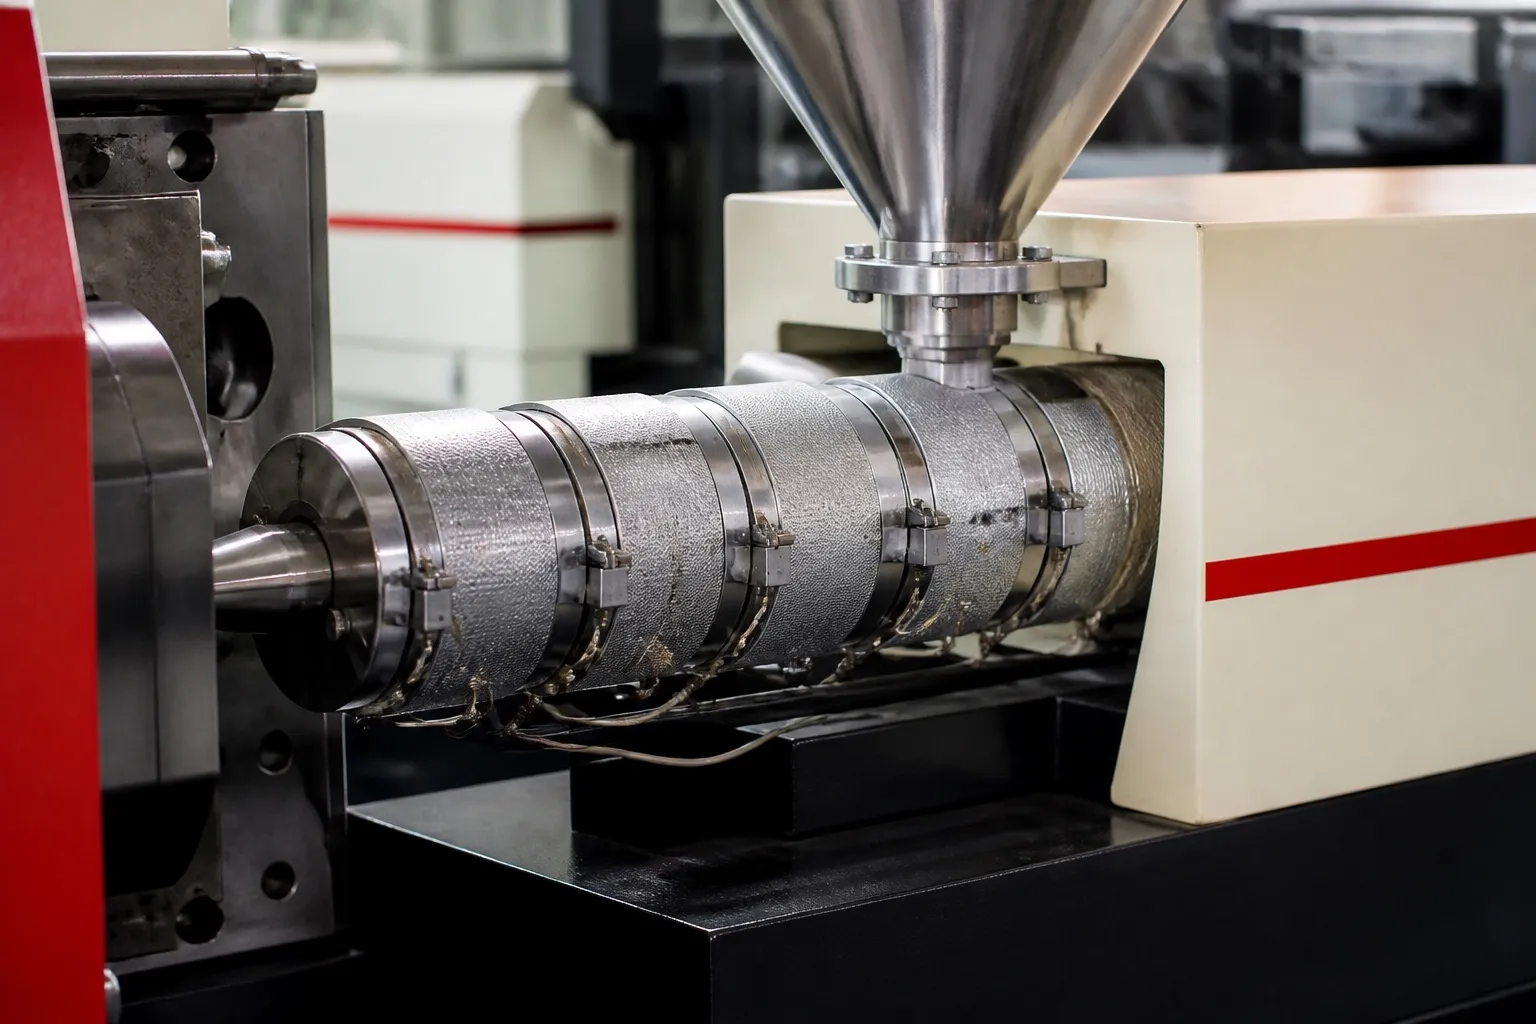
Work in volume, not grams. Machine shot ratings are usually in grams of PS, and melt densities differ: PS about 0.945 g/cm³, PP about 0.74. Convert the shot to melt volume, add 10% for check-valve leakage and melt uniformity, then keep the shot within 20% to 65% of barrel capacity.
Below about 20%, the melt sits too long in the barrel and degrades. Above 65%, melt quality suffers. For PP, the useful window works out to about 0.142 to 0.463 times the PS rating, so a 1,000 g PS barrel gives a good PP shot of about 142 to 463 g.
Use the melt density, not the datasheet figure. A general-purpose PP impact copolymer such as Reliance Repol B120MA lists a density of 0.90 g/cc, which is the solid value. Dividing the tub's 380 g by 0.90 gives 422 cm³ against 513.5 cm³ at melt density, understating the shot by nearly 18%.
Our view: never pick the biggest screw on offer just to be safe. Big screws usually mean lower plastic pressure, and a shot at the bottom of the window cooks the resin. If your jobs vary widely, a second barrel ordered with a new machine can be low cost and quick to change.
What else belongs in injection moulding machine sizing?
Everything that physically connects the mould to the machine. Check mould weight against both platens, the locating ring diameter, the mounting and ejector patterns, and the nozzle pressure. A mismatch on any one can stop a mould running even when stroke, shot and tie bars all pass.
Most moulds use a 101.6 mm or a 120 mm locating ring. Mounting and ejector patterns follow standards such as SPI or EUROMAP, and a mismatch may need an ejector box. Machine nozzle pressure reaches about 140 MPa on many machines and up to 200 MPa on some, so confirm it covers the pressure your mould needs. Clamp force is the other half of sizing; the machine family article in this series works it through from projected area.
What should you send for a sizing check?
Send the mould drawing with width, height, thickness and weight, the part height, the shot weight and resin grade, and the locating ring and ejector details. Those numbers settle the mould fit in one pass. See the horizontal injection moulding machine range.
Frequently Asked Questions About Sizing a Machine From the Mould
What if my mould is wider than the tie-bar gap?
Ideally the whole mould sits inside the tie bars. If it does not, the projected area of the parts must at least lie inside them, because the platens can pull in near the tie bars and wear the parting line. Where neither is possible, you need a machine with a wider tie-bar gap.
Why does a small mould flash in the centre on a large machine?
Because the platens bow. When a mould covers too little of the space between the tie bars, clamp force bends the platens around it and the centre of the parting line opens slightly. A rule of thumb is to cover at least 70% of the tie-bar distance; most machine manuals state the minimum mould size.
Which locating ring size should my mould have?
Most moulds use a 101.6 mm (4 in) or a 120 mm locating ring. Check which size the fixed platen accepts before the mould is built or transferred, along with the mounting hole pattern and the ejector pattern. A mismatch can mean adapter plates or an ejector box, which add cost and set-up time.
How do I convert a machine's PS shot rating to PP?
Convert through melt volume. Divide the PS rating by the PS melt density of about 0.945 g/cm³ to get swept volume, then multiply by the PP melt density of about 0.74 g/cm³. A 1,000 g PS rating holds about 783 g of PP melt at full stroke, before applying the 20% to 65% window.
Is a second barrel worth ordering with a new machine?
It can be, if your shot weights vary widely. A second barrel ordered with a new machine can be low cost, and a skilled operator can swap one in under 30 minutes, even hot. It lets you keep both small and large shots inside the 20% to 65% window instead of compromising on one screw.
Related Articles
- Choosing a Horizontal Injection Moulding Machine: Match the Machine Family to the Part
- Toggle Clamping on Horizontal Machines: Speed, Stroke and Tonnage
- Servo Pumps on Horizontal Injection Moulding Machines: Where the Power Savings Come From
Sources & References
- MoldMaking Technology, B. Catoen: Machine Sizing and Specification for Optimal Mold Performance, Part 1 (Aug 2025)
- Plastics Technology, P. Witaszek, J. Klees, J. Fattori, E. Di Siro, J. Bozzelli: How to Mount an Injection Mold (June 2017)
- Plastics Technology, J. Bozzelli: A Simpler Way to Calculate Shot Size vs. Barrel Capacity (updated 2022)
- Reliance Industries: Repol B120MA Technical Data Sheet (July 2024)
Technical Disclaimer
Disclaimer: The information provided in this document is for general informational and educational purposes only. It is based on technical references and industry information available at the time of preparation and may be subject to change. It does not constitute engineering, technical, commercial or professional advice, nor does it constitute a quotation, specification, warranty or contractual commitment by Pratishna Engineers.
Actual injection moulding machine and process requirements vary according to the component design, material, mould, production volume, machine configuration and operating conditions. The information, examples, calculations and recommendations provided should be independently evaluated and verified for the specific application before making any equipment, process or production decision. Information obtained from third-party sources remains subject to the accuracy and limitations of those sources.
Limitation of Liability: Pratishna Engineers makes no representation or warranty, express or implied, regarding the completeness, accuracy or suitability of the information for any particular application. To the extent permitted by applicable law, Pratishna Engineers shall not be liable for any loss, damage, cost or consequence arising from reliance on or use of the information contained in this document. Final machine selection, configuration and application suitability should be confirmed with Pratishna Engineers based on complete and accurate project requirements.